Lactose-Free Stuffed Courgette πŸ₯’

Also known as calabacines rellenos.


Currently on a mission to help my boyfriend with his diet, which at the moment means avoiding lactose (the sugar in dairy). He loves his grans stuffed calabacines so I thought I’d try a lactose-free version. Heres how:


Ingredients:
2x large courgettes (sliced lengthways and in half to give you 8 pcs)
Handful of chopped spinach
3 Egg whites
3/4 Cup gluten-free breadcrumbs
2 Tbsp lactose-free soft cheese
1 Tbsp onion granules
1 Tsp garlic granules
120g Lactose-free cheddar (grated)
Salt & Pepper

Method:
You’ll need to cook the courgettes first, you want the outer skin to be softer and you’ll be using the flesh for the stuffing mix.


Courgette Img


You can do this two ways: the easier way is in microwave. Place courgette pieces in a microwave safe dish face down in approx 1inch of water, heat in intervals of 1 minute until the flesh is soft enough to scoop out. Alternatively, the second way is doing it in the oven – this takes a little bit longer.

Then, the rest is easy. Scoop the flesh out of the courgette and mix into a bowl with all ingredients except for cheddar. Spoon back into the hollowed courgettes and sprinkle with grated cheddar and cook in a pre-heated oven at 170 Degrees C for approx 10-15mins until cooked through and cheese has melted.


Fun fact: Courgettes have a high water content making them a dieters best friend as they contain very few calories! Whats more they aid healthy digestion AND are high in antioxidants.

Perfect to prep in advance and have as snacks or a side dish with main meals. I calculated that each piece has approx 130 calories, macros may vary depending on brands you use but not bad huh?


Stuffed Courgette Img


Hope you enjoyed this recipe, don’t forget to tag and share us if you try it πŸ™‚

Find me on instagram for more recipes, tips and nonsense.

Easy pizza dough πŸ•

Two ingredient pizza dough? Must be lies.


I saw this recipe amongst the insta realms and was convinced it was one of those fake recipes, the kind where the picture isn’t an accurate representation of the actual recipe. BUT, after trying and testing, I can happily report that this recipe is true. Miracles do happen.


This recipe will most likely work with any flour, so far I’ve tried it with rye flour and self raising gluten-free flour and both were successful. I reckon oat flour will work well too, however steer away from coconut flour or almond flour as they can’t be directly subbed.


Ingredients:
45g Rye flour
75g Non-fat greek yoghurt (I used Fage 0%)
Salt to taste
Some extra flour for rolling dough on surface

Method:
Mix flour, salt and yoghurt and you’ll get a sticky dough – please note differing brands of yoghurt or flour will vary the recipe slightly eg. fage isn’t as liquid-ey as other yoghurts.

Then, pour sticky dough ball onto a floured surface and knead until it isn’t sticky anymore.

Pre-heat oven to 170 degrees C, spray a medium sized non-stick pan with oil and flatten your dough ball into it, bake for just under 10mins until base is cooked through.


Remove from oven, finish it with your preferred pizza toppings and return to oven for your cheese to melt and until dough has browned on the edges.

For this pizza I used low-fat cheese slices because I was out of mozarella, grated vegan cheese (I had some in fridge), chopped cooked ham and zero bbq sauce as the base – whole pizza came to approx 360cals.


Next time I’m going to make this recipe in bulk so i can keep some dough balls ready in the fridge for when I need them, yes need.


Don’t forget to follow the blog to receive these recipes directly to you inbox, or you can follow me on instagram for more recipes, tips and nonsense.

All recipes are created by myself so if you find yourself using them for anything (which i don’t mind) please credit me, its the least you can do.


For discount on iherb – use my code JCB887 (multiple use code).

Easy Chia Pudding

Chia seeds are jam packed with nutrients so imma add them to everything and nobody is gonna tell me otherwise.

Seriously though, chia seeds are the powerhouse of the seed family: packed with antioxidants, fibre, protein and omega-3’s… you really can’t go wrong by adding them to your diet. For me, they really help with regulating my digestion and I won’t go a day without having them – mostly adding them to porridge and yoghurt.

Chia seeds are one of the most fibre dense foods available, specifically soluble fibre. What does this mean? In the same way that chia seeds create a gel when mixed with water, the same process happens in your digestive system; they absorb water to form a gel and in turn soften stools for easier passage.

Anyway, heres the recipe – give your body the love it deserves:

Ingredients:
160g Non-fat greek yoghurt (I used Fage brand)
2 Tbsp unsweetened almond milk
1 Tbsp chia seeds
Flavour drops of choice or vanilla extract
+ toppings of choice

Method:
Not much to it, just mix it all together until combined (without toppings), pour into a glass or bowl and refrigerate for an hour (or until you can turn the bowl/glass upside down without it falling out).

Then, top with what you like πŸ™‚


I topped mine with some Malt-ish crumbles, sugar-free chocolate hazelnut spread and strawberries 😍


Hope you enjoyed this recipe, don’t forget to follow the blog to receive updates directly to your inbox or you can follow me on Instagram for all things foodie.


Cheesecake-filled Easter eggs 🐣

Easter eggs but make them macro-friendly.

Easter eggs isn’t the problem, eating them in moderation is. I just want the whole egg. You know? So, with these homemade ones i can at least eat the whole egg and its still within ‘moderation’ hehe plus they look super cute AND a higher in protein.

Heres how:
100g Chocolate of choice
1/4 Tsp coconut oil
200g Light soft cheese*
10g Low-Sugar chocolate hazelnut spread
20g Whey protein powder – choc flavour
4 Drops of hazelnut flavdrops
2 Drops of white choc flavdrops
+ toppings of choice

*The lightest option available is Philadelphia brand ‘lightest’ however I used generic supermarket branded soft cheese.

To make a vegan egg alternative, use vegan cheese spread (any brand will work) and the best protein powder I would recommend is choc soy protein, like this one.


Note: if you don’t have the flavdrops don’t worry it won’t change the texture of this recipe just the taste. You can add more hazelnut spread for authentic ‘bueno’ taste or you can just add any essence/ flavouring drops to sweeten.


Method:
Melt chocolate with the tiny bit of coconut oil – I do this in microwave but if you don’t have a microwave place chocolate and coconut oil in a glass bowl over a saucepan with boiling water. Some chocolate brands won’t require using coconut oil, but others might be thicker and need a bit of oil for it to spread easier.

Using an easter silicone mold, spread a layer of chocolate into each cavity and freeze a couple of minutes until solidified.

In a bowl, mix together remaining ingredients and whisk until well combined. Pour into your chocolate egg shells (still in mold) and refrigerate 15-20minutes.


Lastly, top with whatever you like – I used Malt-ish crumbles, strawberries and a cheeky white choko bon. Like having an easter egg and delicious dessert rolled into one, with the added bonus of each egg coming to approx 260 cals (inc toppings).


Hope you enjoyed this recipe and don’t forget to follow this blog to receive updates directly to your inbox or follow me on Instagram for all things foodie 😊

Get discounts on IHerb with my code (multiple use) : JCB887

Recipe: Sweet Pizza πŸ“

Idk, its like a pizza pero sweet.


Halfway into making breakfast muffins for my boyfriend I realised I didn’t have a muffin tray to bake them in and so, sweet pizza was born. Honestly, it felt like the most fitting description.

Made with oat flour, whey and egg – a simple and versatile recipe which you can make when you fancy something cakey, can prep in advance or even make into muffins (like i failed to do).


Heres the recipe:


Ingredients:
1 Cup oat flour (or ground oats)
1 Scoop whey protein*
1 Tsp baking soda
1/2 Cup oat milk (or milk of choice)
1 Egg (or 2x egg whites)
1/4 Cup maple zero syrup
1 Tsp vanilla
1 Tbsp agave nectar
*You can omit this completely, however the whey protein will give it a sweeter flavour so you will want to add some more sweetener – I would recommend a powdered stevia or xylitol).

Method:

Pre-heat oven to 170 Degrees C.

Chuck all your ingredients in a bowl and mix until well combined.

Line a round tray (I only had one size which is approx 10inch) with greaseproof baking paper and pour your mix into it. Spread to the edges with a spatula – it should spread enough.

Sprinkle choc chips into batter (optional).

Bake for approx 10mins, until baked through the centre.

Remove from oven… I would say leave to cool, but is anyone ever patient enough to do that? Melted chocolate chips > not melted chocolate chips. YGM?

Spread your desired toppings; I used peanut butter, strawberries and white choc drizzle.


Yields 4 slices and approximately per slice (no toppings) was: 162 cals | 3.2F | 17.4C | 11P however macros may vary depending on brands and measurements each person uses.


Hope you liked this recipe, follow the blog to receive blogposts directly to your inbox OR you can follow me on instagram for recipes, reels and nonsense πŸ˜›


5% discount on iHerb using code: JCB887 (multiple use code).

Recipe: Chicken ‘kebab’ with potato wedges + yoghurt sauce πŸ₯˜

I was asked to participate in a local TV show which involved trying (and in my case re-creating) typical takeout foods. Say yes, regret later.


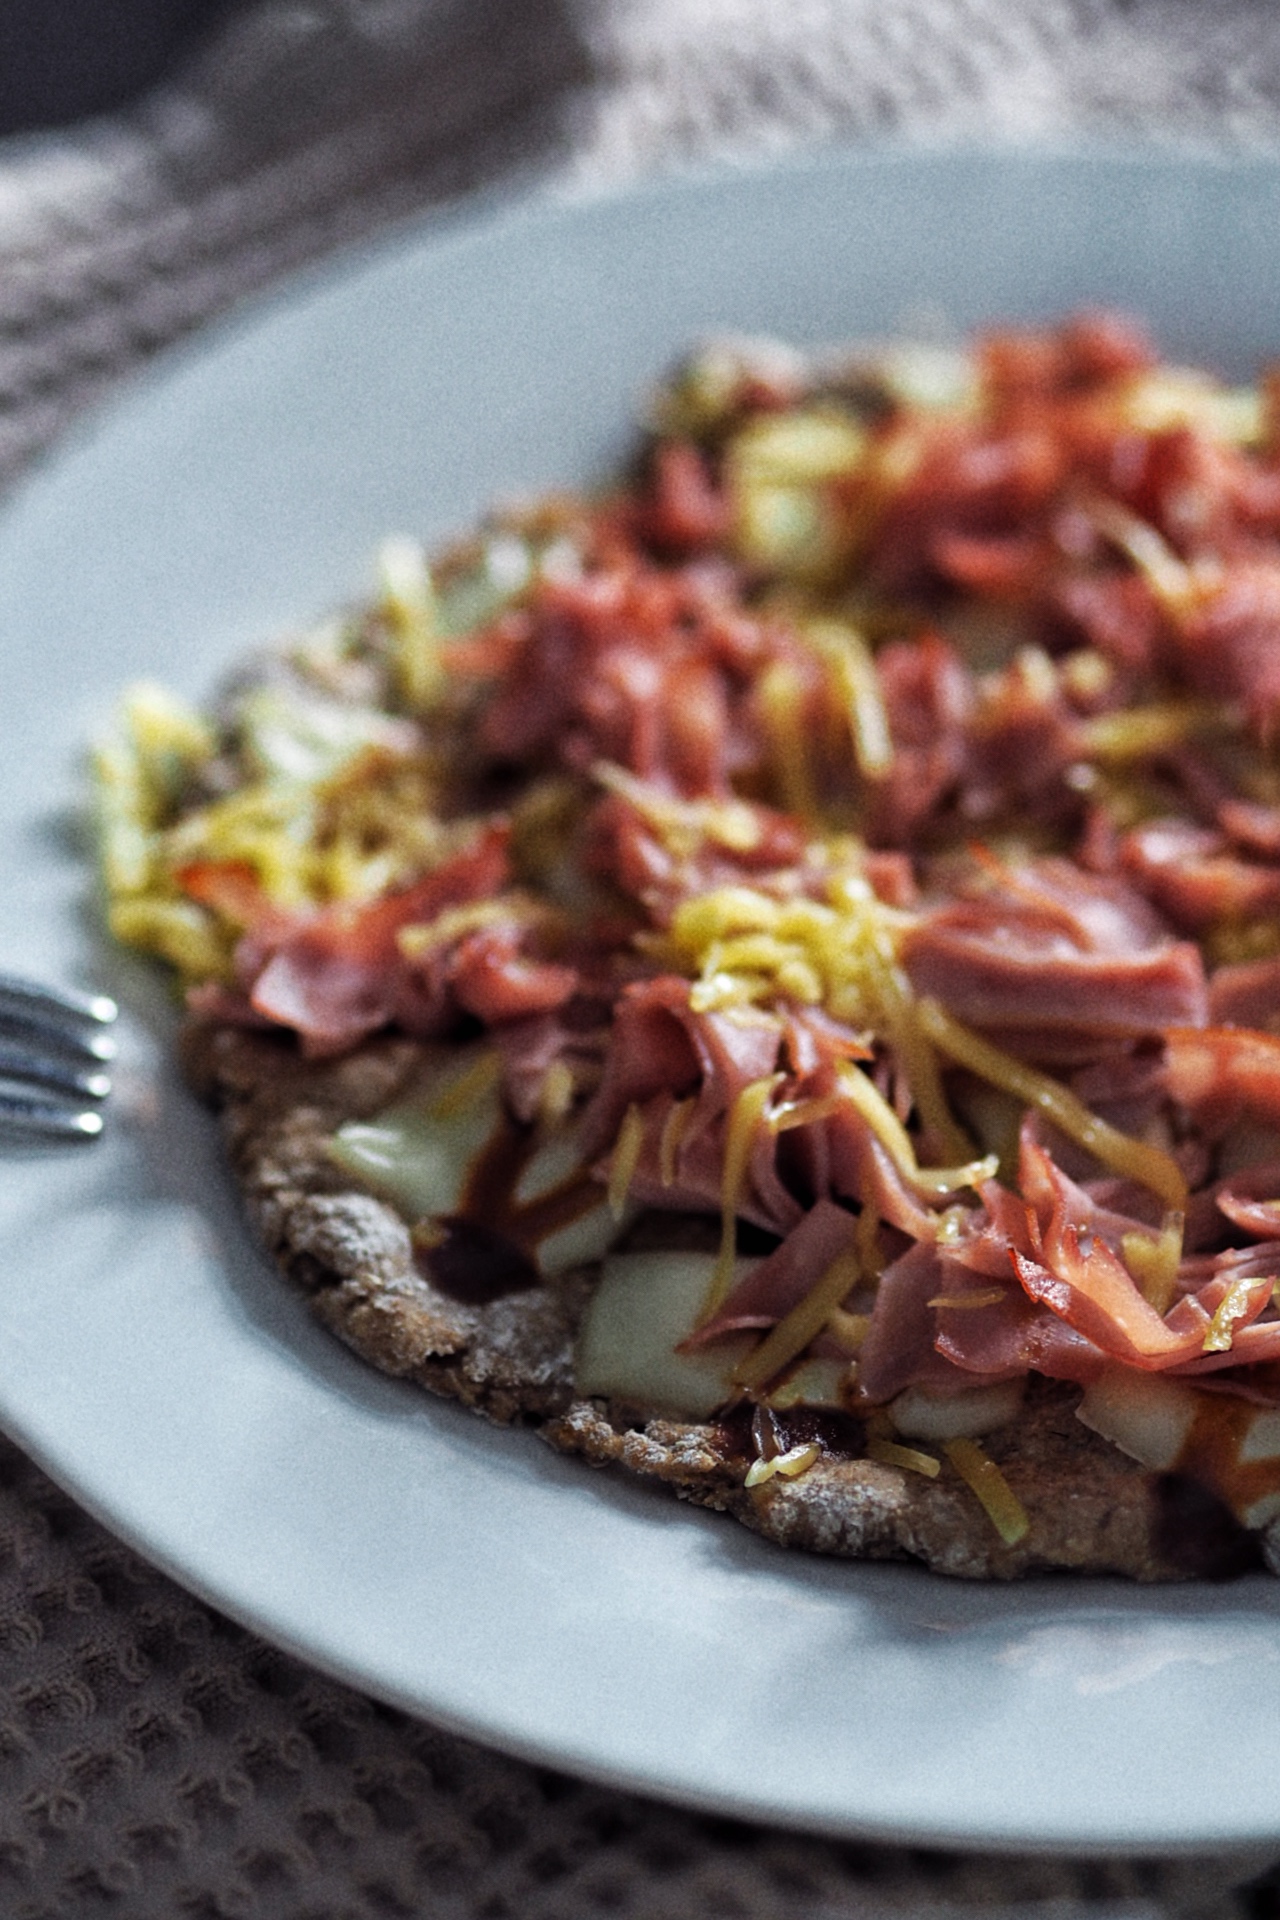
The programme consists of judging local takeaway eateries and then a guest chef re-creates a healthier alternative. Each week has a different theme and a different guest chef; I was hoping for pizza but alas I got kebab week. Nonetheless I was up for the challenge and did my own take on a kebab by doing a chicken edit with homemade oven-baked potato wedges + yoghurt sauce.


Join me in making this re-creation and follow these easy steps:


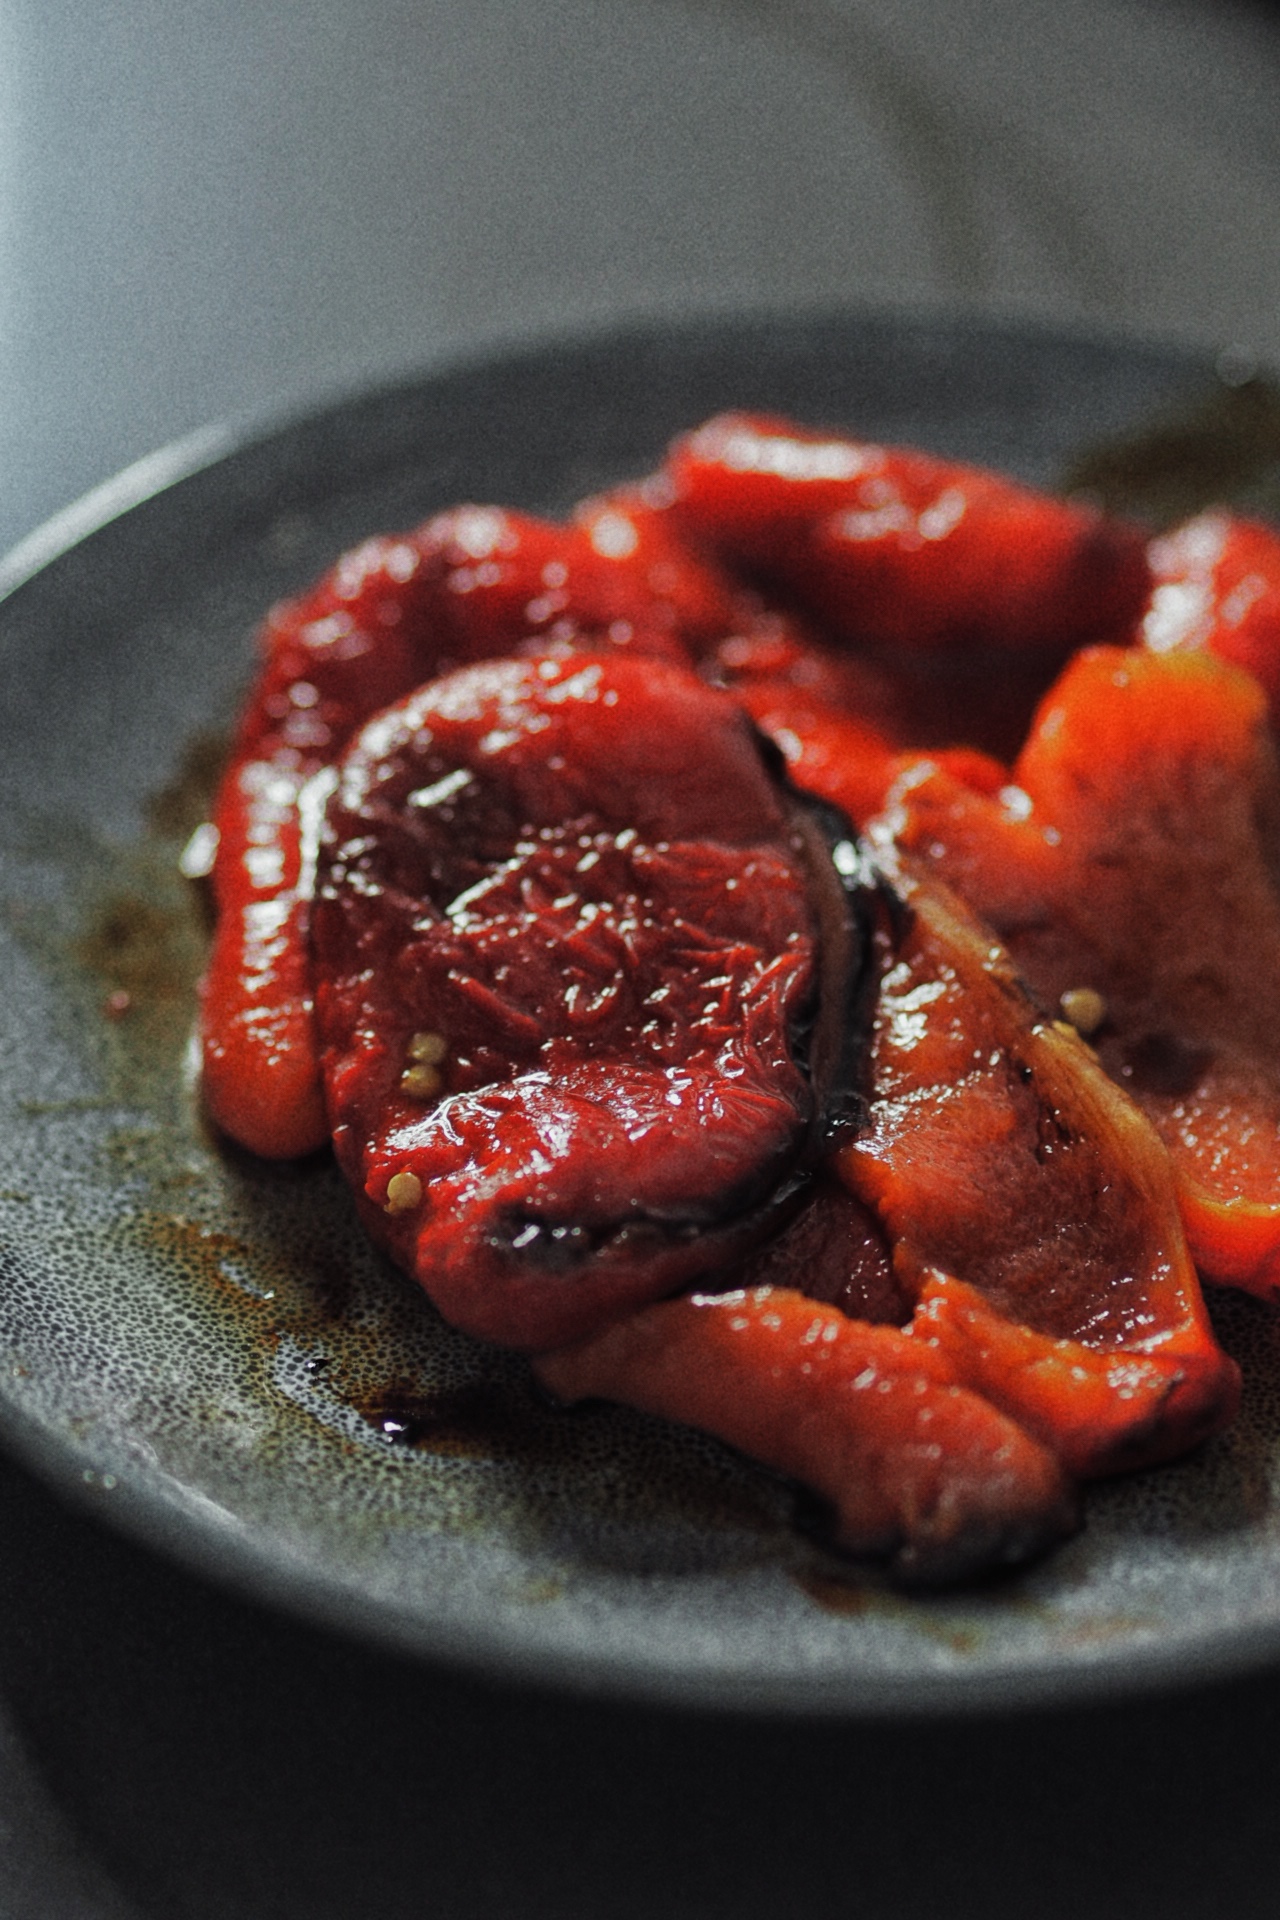
MARINATING THE CHICKEN.

Usually I don’t really measure my ingredients when doing a recipe for the first time, I like to experiment freely and then re-work the measurements after. But this one worked so well, I want to guide you through everything I used. Feel free to add more (or less) of any of the ingredients as you prefer.

3 Large chicken breasts, sliced lengthways*
1/4 Cup olive oil
3-4 Tbsp smoked paprika
3-4 Tbsp bbq seasoning
1/4 Tsp Cayenne or chilli powder
3-4 Tbsp Garlic Powder
2-3 Tbsp italian herb seasoning
salt to taste

Toss it all in a bowl, rub all the herbs and spices into the chicken breasts – use your hands and get messy. Then, set aside and leave marinating while you prepare potato wedges.

Tip: marinating in advance gives the chicken more flavour. You can also use chicken thighs for a more authentic chicken kebab flavour as thighs tend to have a higher fat content and will add a bit more flavour to the skewers.


LETS MAKE POTATO WEDGES.

First, turn oven on and set to 170-180 degrees C then get these ingredients:

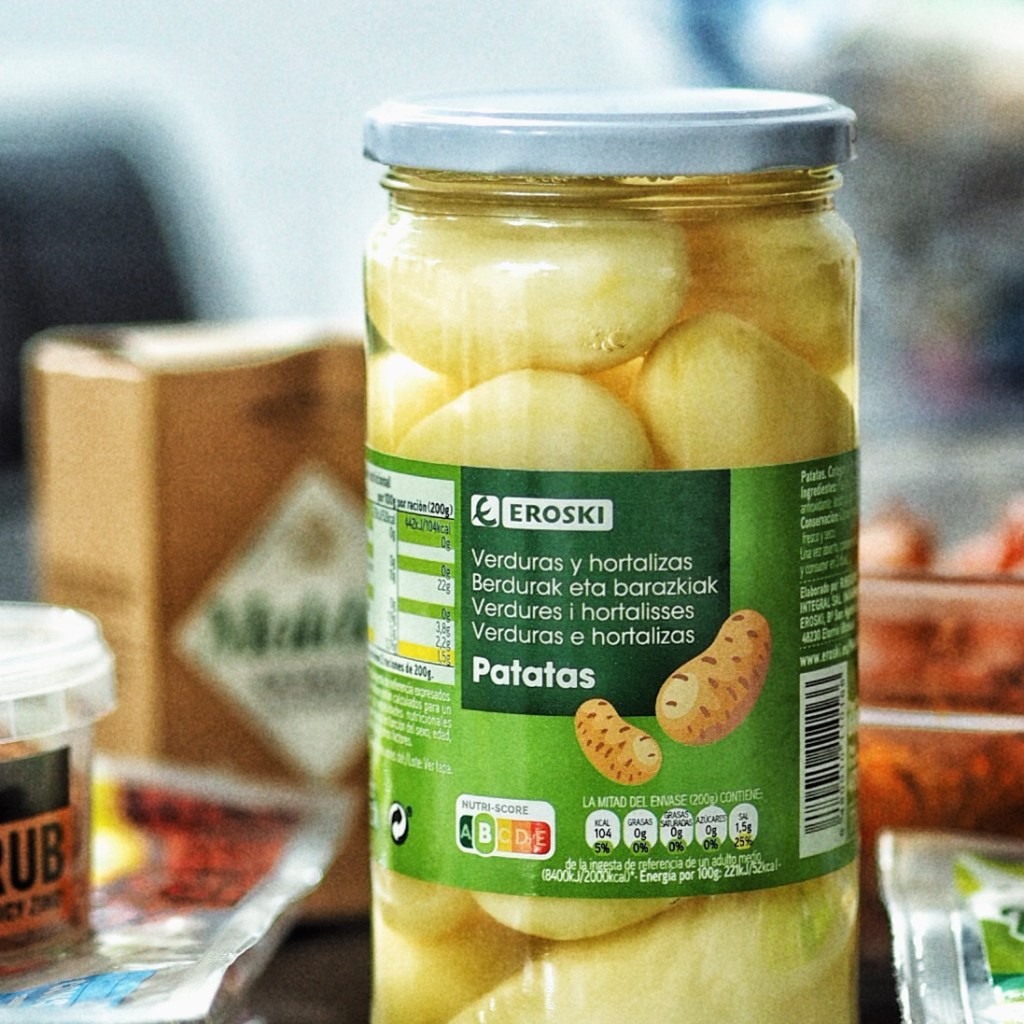
1 Jar of cooked potatoes (400g drained)
2 Tbsp garlic granules
1 tbsp italian seasoning
Drizzle of olive oil
salt to taste

Slice potatoes into wedges, and marinate them with your remaining ingredients – again use your hands (its the best way). Line a baking tray with greaseproof baking paper and lay your wedges onto them without any overlapping. Set aside.

Tip: Did you know that cooked potatoes sold in jars have better calorie and carb content than normal cooked potato? Don’t believe us? Check it out for yourself! The brand that we used here, in comparison to normal cooked potatoes was HALF the carbs per 200g. HELLO POTATO PARTY.


PREPARE THE CHICKEN KEBABS.

Grab some skewers, I used metal ones but the wooden ones will be fine just make sure you soak them in water beforehand so that they don’t burn in the oven. Then ‘needle’ the skewer through each piece of breast and place over a deep dish like so:


COOKING TIME

Place the wedges on a higher tray of the oven and chicken on a lower tray as you don’t want your chicken to burn before it cooks. Cook in the oven for approximately 40 minutes. However, halfway through you will need to swap chicken to a higher level – when you do this pour the juices that have fallen into the tray over the chicken. If there isn’t much there, then pour a drizzle of olive oil and place back into oven, on a higher tray.

Note: the chicken might create some smoke so be wary of this when you open the oven (especially if the smoke detector is right above it like mine – oops).


DONT FORGET THE SAUCE

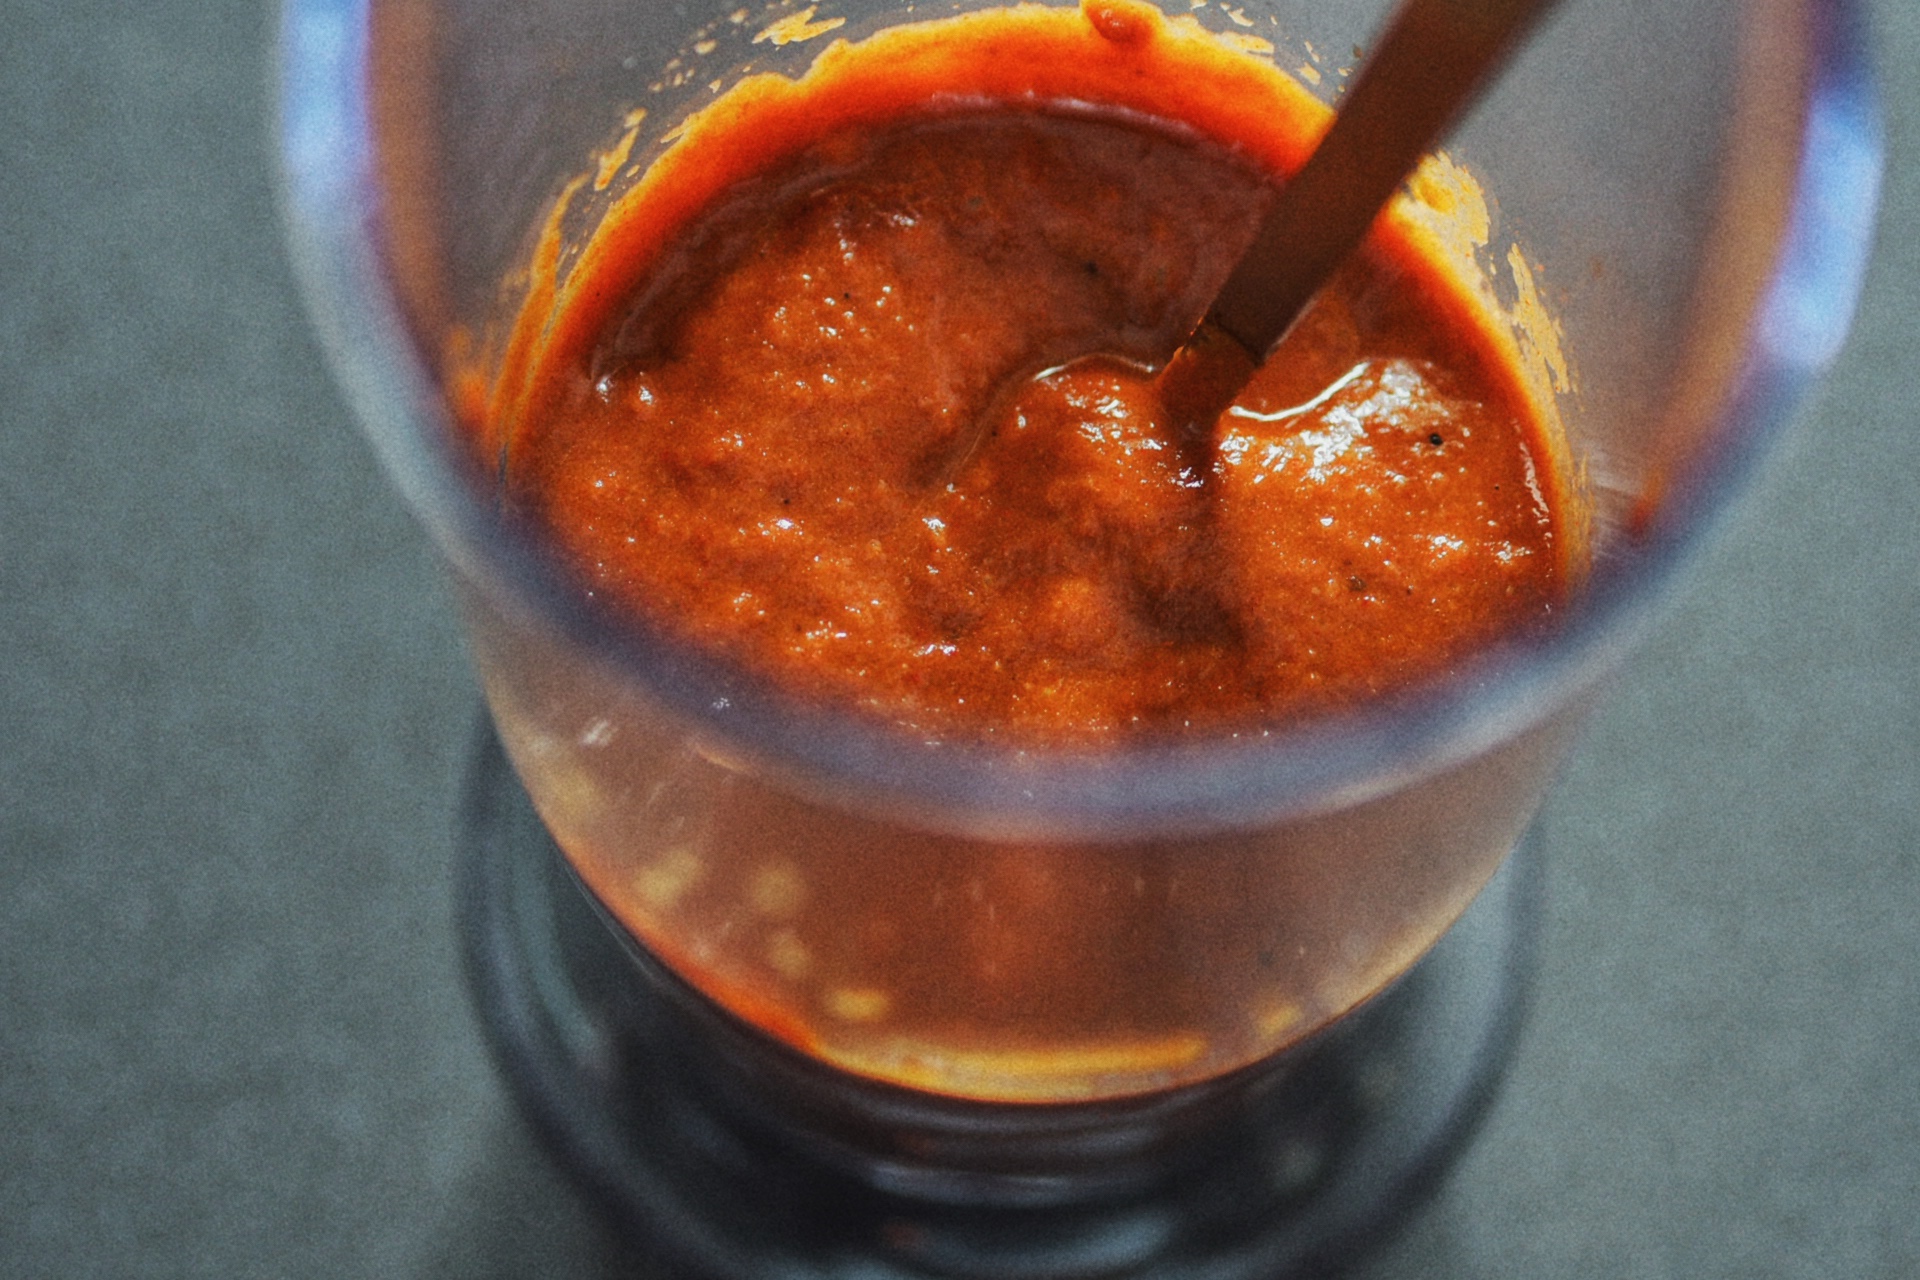
While the chicken and wedges are cooking, prepare the sauce:

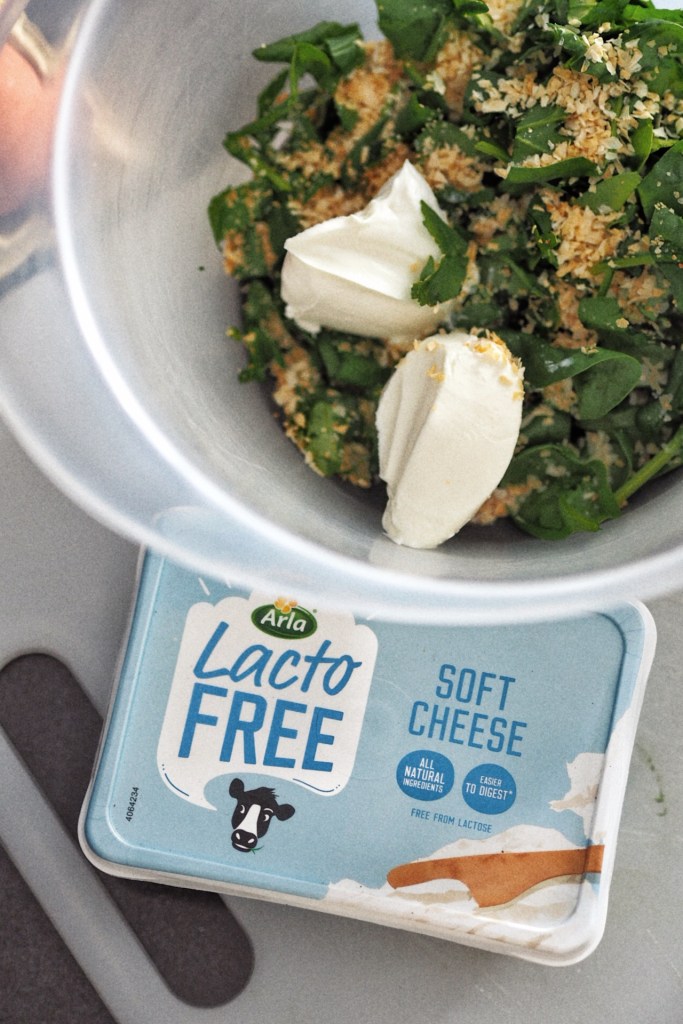
100g Non-fat greek yoghurt or queso batido desnatado
Drizzle olive oil
1 Tbsp agave nectar (or honey)
1 Tbsp garlic granules
1 Tbsp italian herbs
1 Tsp cider vinegar or lemon
salt to taste

Whisk it all together until combined and done. Set aside.
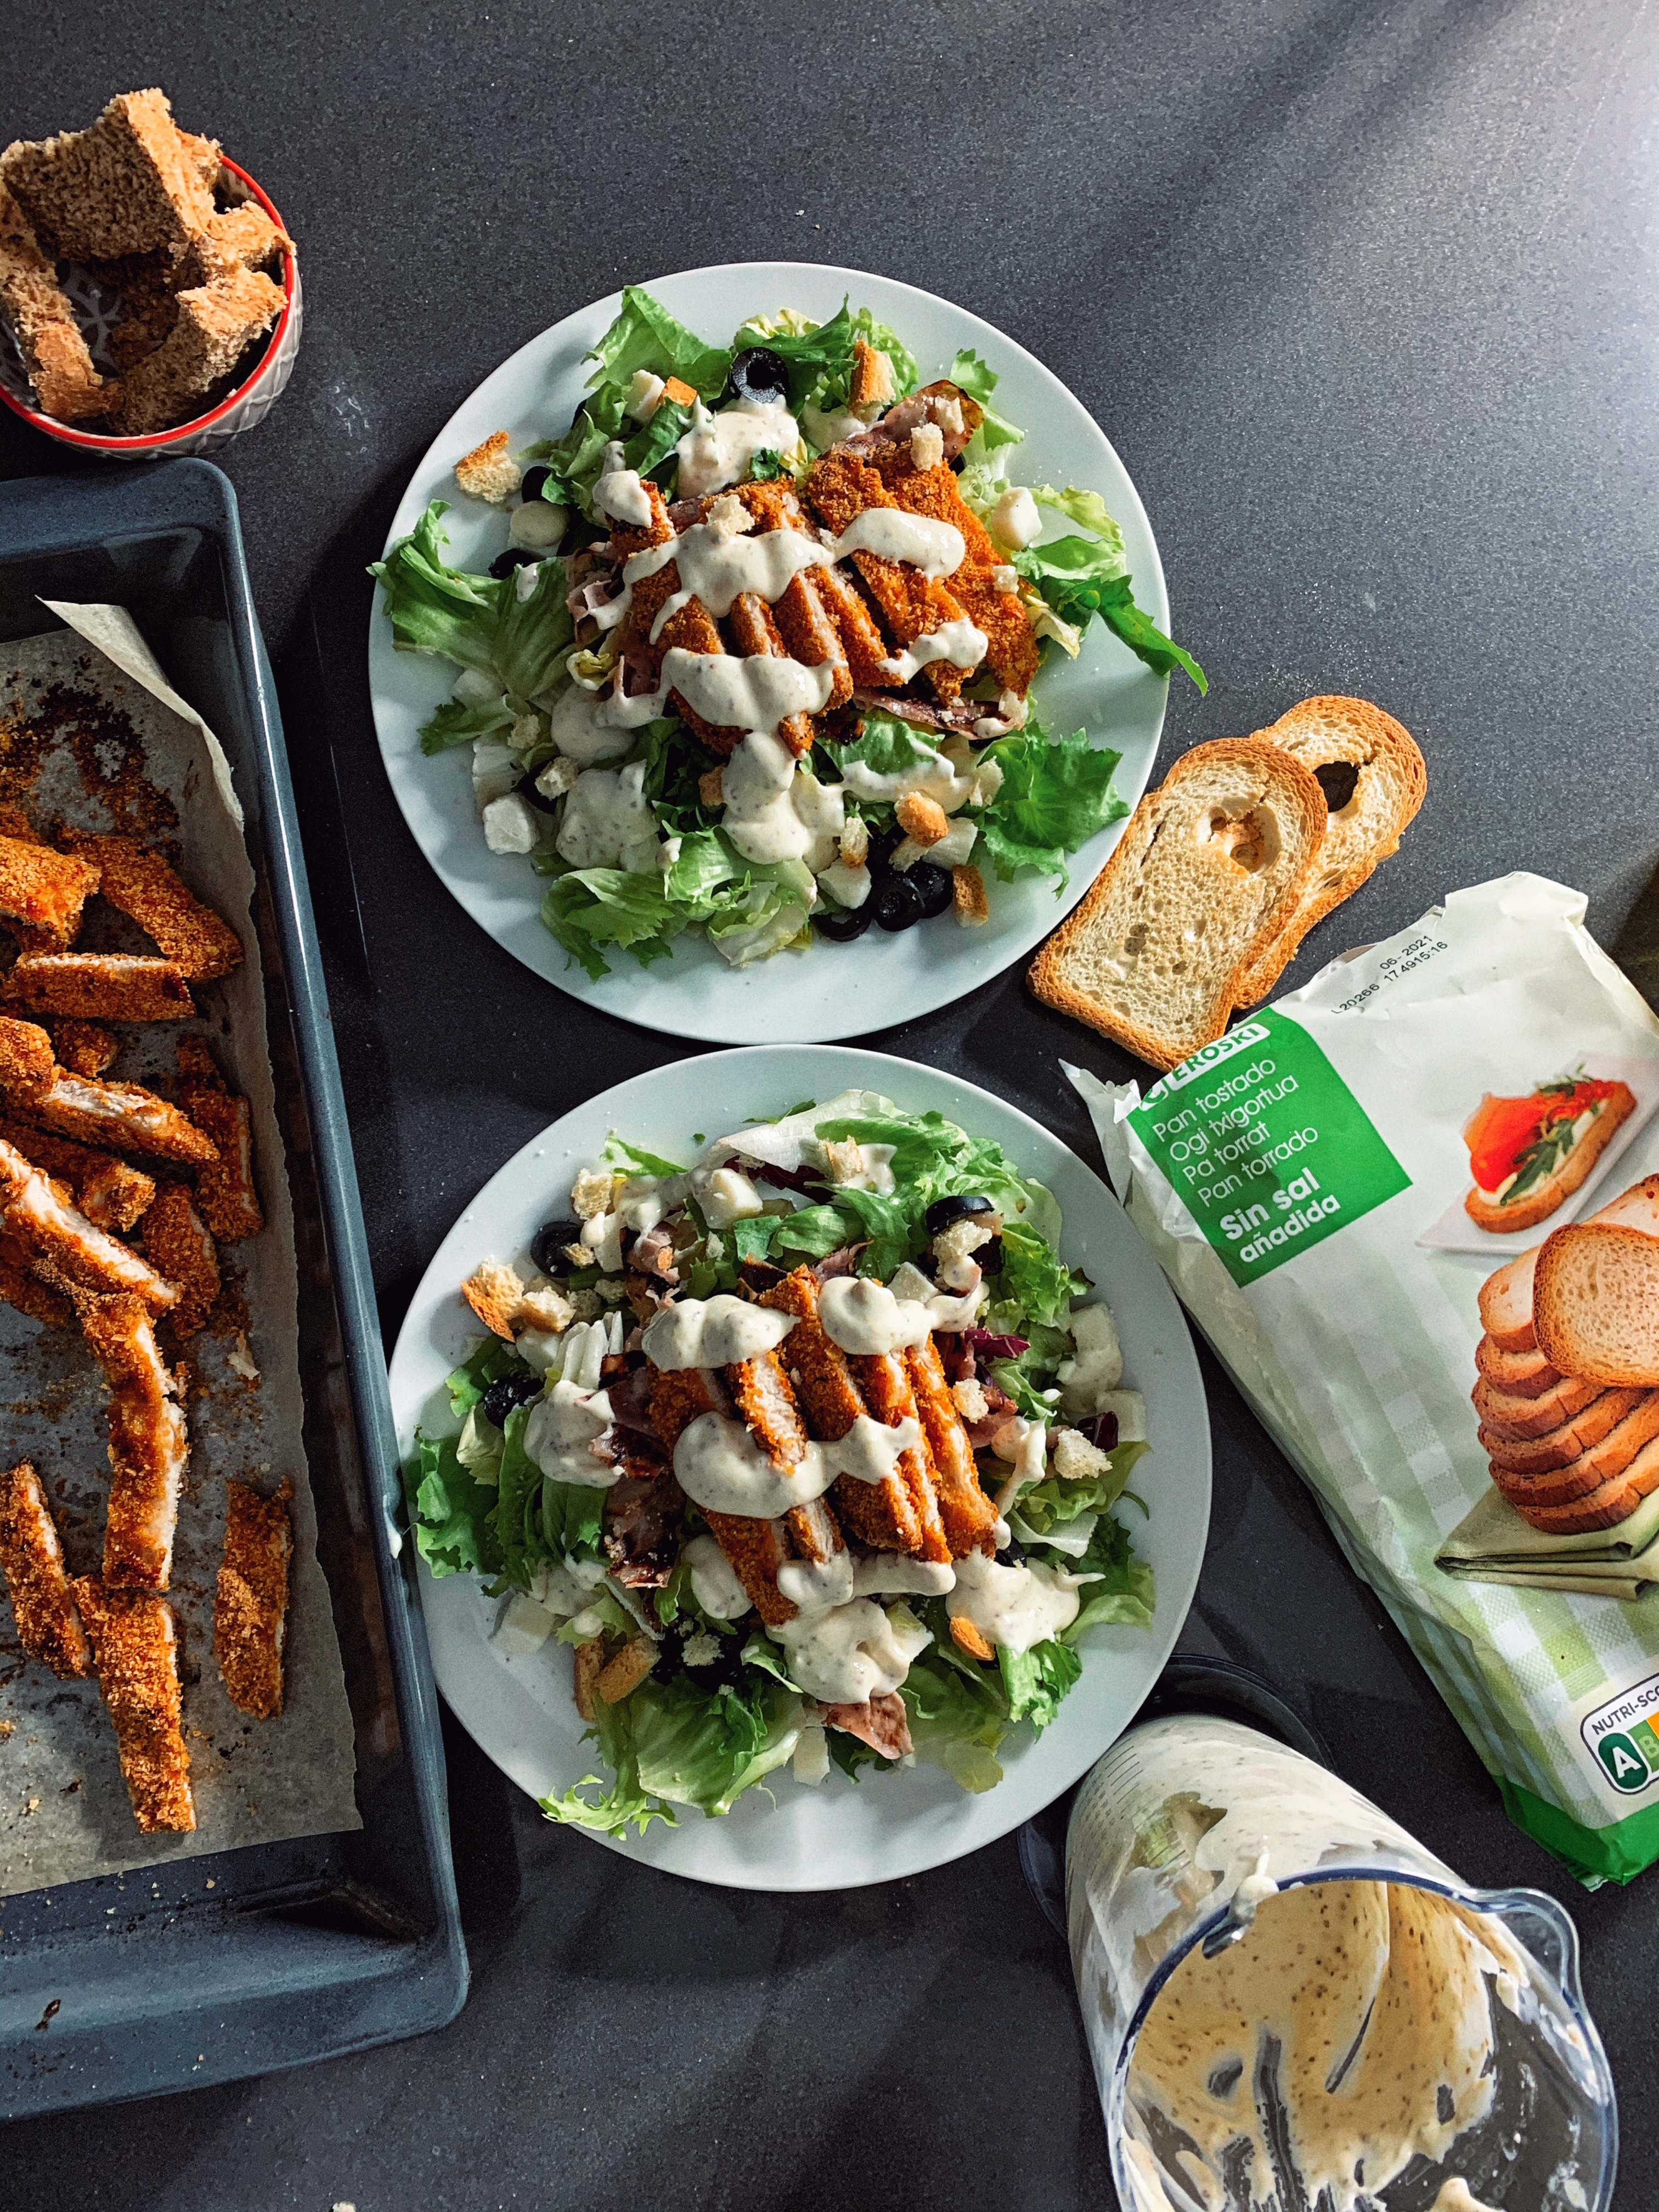

TIME TO EAT.

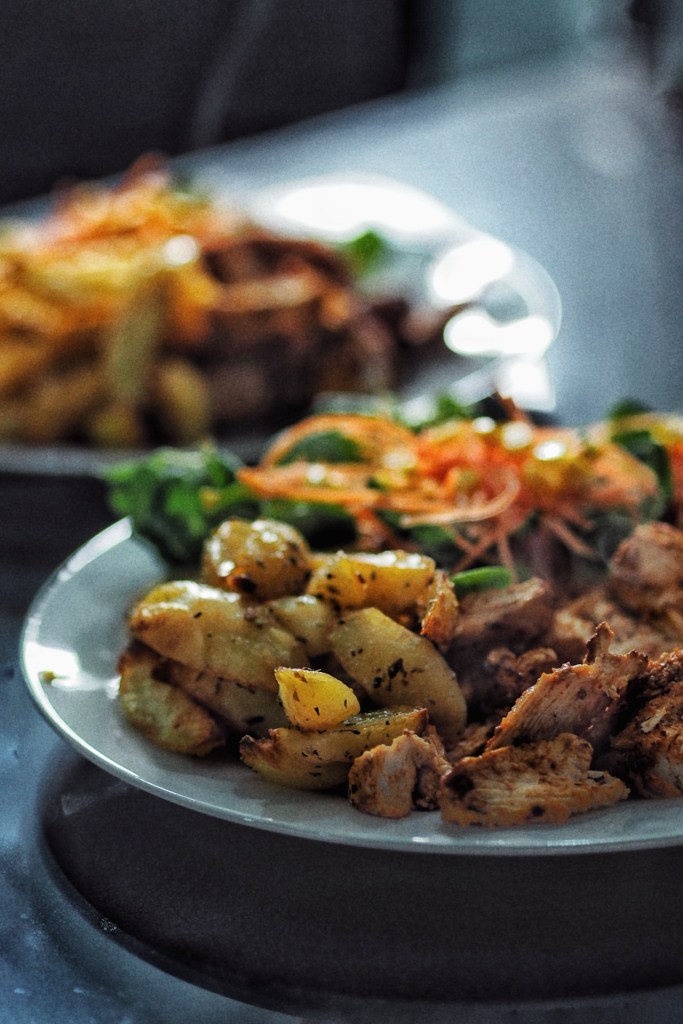
Once chicken and wedges are ready, remove from oven.


With a tea towel grab the end of the skewer and using a serated knife – slice chicken downwards. Transfer onto plate, add potato wedges, yoghurt sauce and side salad. Or for the TV show I made them into wraps – delicious any way you prefer it!

Hope you enjoy this recipe, or if you watched me on the show… hope you enjoyed my awkwardness – at least the mask covered the one spot that decided to make an appearance the day before.

Check out the blog for many more recipes, follow and receive them direct to your inbox OR follow me on instagram for more recipes, videos and nonsense πŸ™‚

You can watch the show here.

Recipe: Peanut Pancakes πŸ₯œ

10pm is a great time to make yourself pancakes, right?


After eating light all day, 10pm came along and I was hungry – cue pancakes. As with most recipes, i chucked loads of ingredients in a bowl and hoped for the best.


This was the outcome:


Ingredients:
6 Tbsp peanut powder
(They also sell this one in Morrisons)
20g Whey protein powder
(I recommend the one in shopping list below OR this one by Bulk)
2 Tbsp xylitol (or granulated sweetener of choice)
30g Ready Brek porridge oats
1 Tsp baking powder
Pinch of salt
3 (L) egg whites
3 Tbsp milk of choice


Shopping list here.


Method: Just like I did, chuck it all in a bowl and mix until everything is combined.

Leave your mix to a side (let the oats and peanut powder soak in) and heat a non-stick pan to medium heat. Be patient and wait for it to properly heat up, don’t be tempted to increase heat because this is just going to burn your pancakes. Trust.

Then, using a low-cal spray oil, make your pancakes. Pour table-spoonfuls of mix onto pan – leave to cook several minutes and flip. Repeat for entire mix.


Stack them up and enjoy! With some ‘Better than Snickers Spread’ maybe? I added some berries too! How will you have yours?
Hope you enjoy them, don’t forget to tag/share if you make them πŸ™‚

Exclusive discount on iherb with code: JCB887

Recipe: Roasted Red Pepper Salad Dressing πŸ₯—

Worth it for the smell of roasted red peppers in your kitchen, aside from the fact that it tastes amazing ofc.


I was craving a huge salad and by huge i mean the kind where you add everything except the neighbours cat. Tired of plain ol vinegar and equipped with some fresh red peppers, i decided to make my own dressing.


Heres what I did:


Ingredients:
2 large red bell peppers
1.5 Tbsp olive oil
1/4 cup balsamic vinegar
1 Chopped onion + 1 tbsp frozen garlic – sautΓ©ed
1 Tbsp agave nectar
1 Tbsp Smoked Paprika
Salt & Pepper to taste
You will also need a handheld blender/ food processor

Method:
First you will need to roast your peppers:
1. Slice them in half and place face down on a lined baking tray.
2. Spray or spread 1/2 tbsp olive oil over them.
3. Bake @ 200 degrees C for 20 minutes until softened.
4. Place on a plate and cover with a bowl, so the peppers can ‘sweat’ for 15 minutes. Alternatively, you can put in a bowl and cover with a plate. This process is done so that you can easily peel the skin off the peppers.
5. Remove skin and place into your blender jug.

Then:
Add all the remaining ingredients and blend until everything is combined.


Voila, done. Pour over your salad and enjoy πŸ™‚


Or you can try my Healthified Caesar Sauce instead, its super yummy too!


Hope you like this recipe, don’t forget to follow the blog and receive these posts directly to you inbox OR follow on instagram for recipes, tips and nonsense.


Thank you for reading!

Recipe: Caesar Salad Sauce (+ vegan subs) πŸ₯—

Did you know Caesar sauce usually has anchovies? I didn’t and let me tell you I WAS SHOOK.


Dont get me wrong, I have nothing against anchovies but I don’t like them and just knowing that they reside in Caesar Salad sauces – I just can’t do it. So, I made up my own recipe, which happens to be healthier and high in protein too. FTW.


Heres how you make it (with vegan subs):


Ingredients:
4-5 Tbsp non-fat greek yoghurt
For vegan option use Alpro ‘Greek’ style
1 Tbsp Hellmans really light mayo
For vegan option you can use vegan mayo OR more yoghurt
10g Dijon mustard
40g Parmesan
For vegan option use Violife ‘Parmesan’
3 Tbsp milk of choice
1 Tsp garlic powder
1 Tsp olive oil
1 Tsp lemon juice
Salt & pepper to taste

Method:
Theres not much to it, put all your ingredients into a blender and blitz until smooth. Alternatively you can use a hand held blender too.

Note: add more milk if you prefer it runnier.


I made my salad with these delicious Chicken Goujons, pan-fried cooked ham (tastes like turkey bacon and is the best bacon hack you’ll ever try), crumbled melba toast and goats cheese cubes. Was absolutely delicious and felt like we were having a restaurant dinner πŸ˜›


Dont forget to tag / share if you try it! πŸ™‚


I had shared this recipe previously on my social media so don’t forget to follow me on instagram for more tips, recipes and nonsense.

Recipe: Choc Chunk Cookies πŸͺ (Gluten-Free)

Nothing says I love you like warm, freshly baked cookies.


I dont really need an excuse to bake, in fact I am a THE biggest procrastibaker – will bake/ cook before doing anything that needs done round the house (or in life). So, instead of doing something productive I decided to make freshly baked cookies to greet my boyfriend when he got back from work. Logical right?


They turned out to be the best healthified cookie recipe I have made to date sooooo no regrets! πŸ˜›


Try them yourself:


Ingredients:
150g Cashew butter
(or any alternative – I just like the taste of cashew in cookies)
50g Ground almonds/ almond flour*
20g Whey protein powder
(Any you prefer will be fine. I alternate between Combat Cookie or Bulk Vanilla).
25g Brown sugar**
15g Xylitol (or preferred granulated sweetener)
1/2 Tsp Baking powder
1 Tsp melted coconut oil
1 Tsp vanilla extract / flavouring
2 Egg Whites
Chocolate chunks of choice (I used some chocolate that was still lingering in the cupboard from xmas which is Morrisons Cookie Milk Chocolate. Chopped it into chunks and was perfect – just use whichever you like best.)

* If you don’t have ground almonds I would suggest ground oats, however almonds will give you a MUCH better texture for cookies, oats will dry up more.
** You can omit the sugar and replace with granulated sweetener but the brown sugar will give it the perfect cookie texture (crispier on the outside) + perfect taste. Alternatively, use coconut sugar.


Ive created a shopping list on iherb with all the products needed for this recipe if you prefer buying it online, remember to use code: JCB887 for exclusive discounts.


Method: Line a baking tray with greaseproof baking paper and pre-heat oven to 170 Degrees C.

In a bowl, combine your dry ingredients then fold in wet ingredients leaving chocolate chunks for last. Place in freezer for 10 minutes – this will help roll the cookies onto the baking paper.


With a tablespoon, grab a spoonful and roll into a ball with your hands then place onto baking sheet. Repeat until all mix is used.

Dip fingers into a tiny bit of water and flatten/ shape your cookies.


Bake for approximately 10 minutes (until cookies have began to go golden brown around the edges).

Leave to cool completely.
Recipe yielded approx 12 cookies.


Enjoy with (or without) the boyfriend but definitely with a nice cup of tea or coffee.

Each cookie was approx 137cals / 8F / 9.8C / 5P (and I piled on the milk choc in this one, so play around with the amounts and you can get even better macros!)


Don’t forget to tag us if you try it πŸ™‚

Code: JCB887 gets you exclusive discounts on iherb.