Blog

Recipe: Carrot Cake Jam

Recipe ideas are usually born from (unexpected) cravings for something, evolves into brainstorming on a piece of paper (old school i know) and then it escalates into a full blown idea storm.

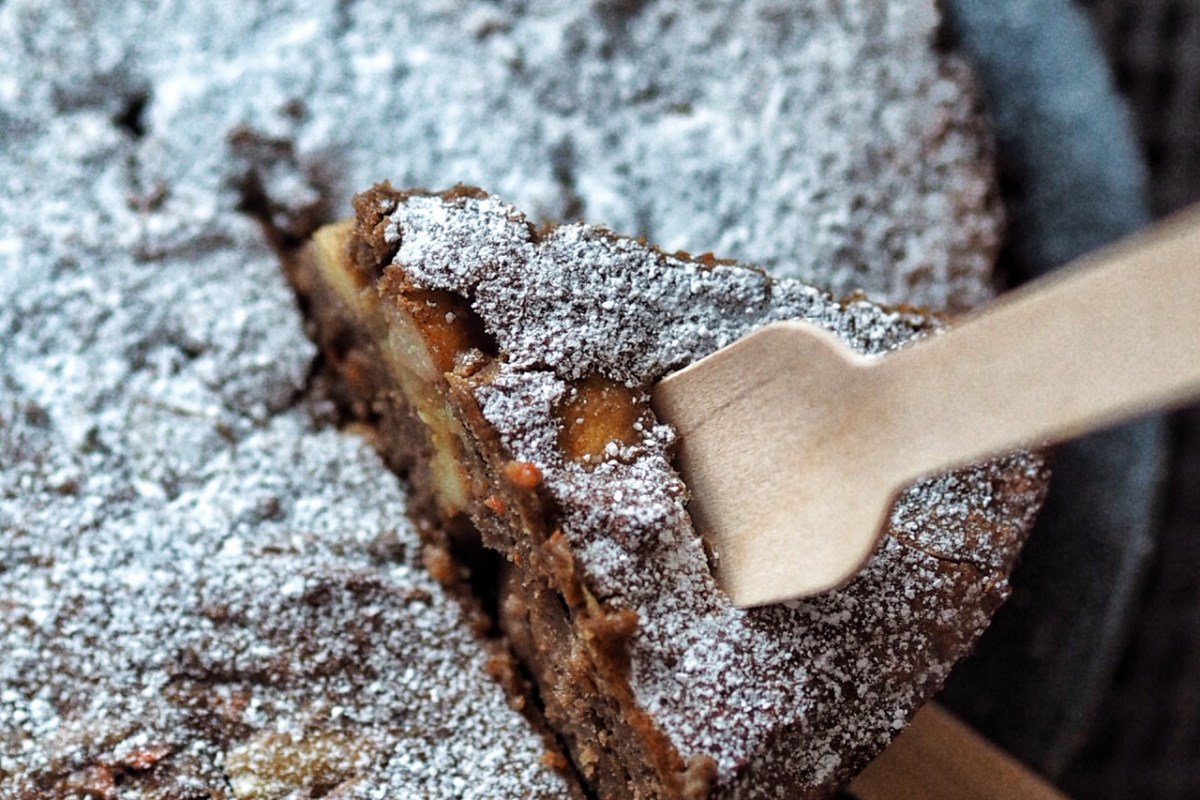
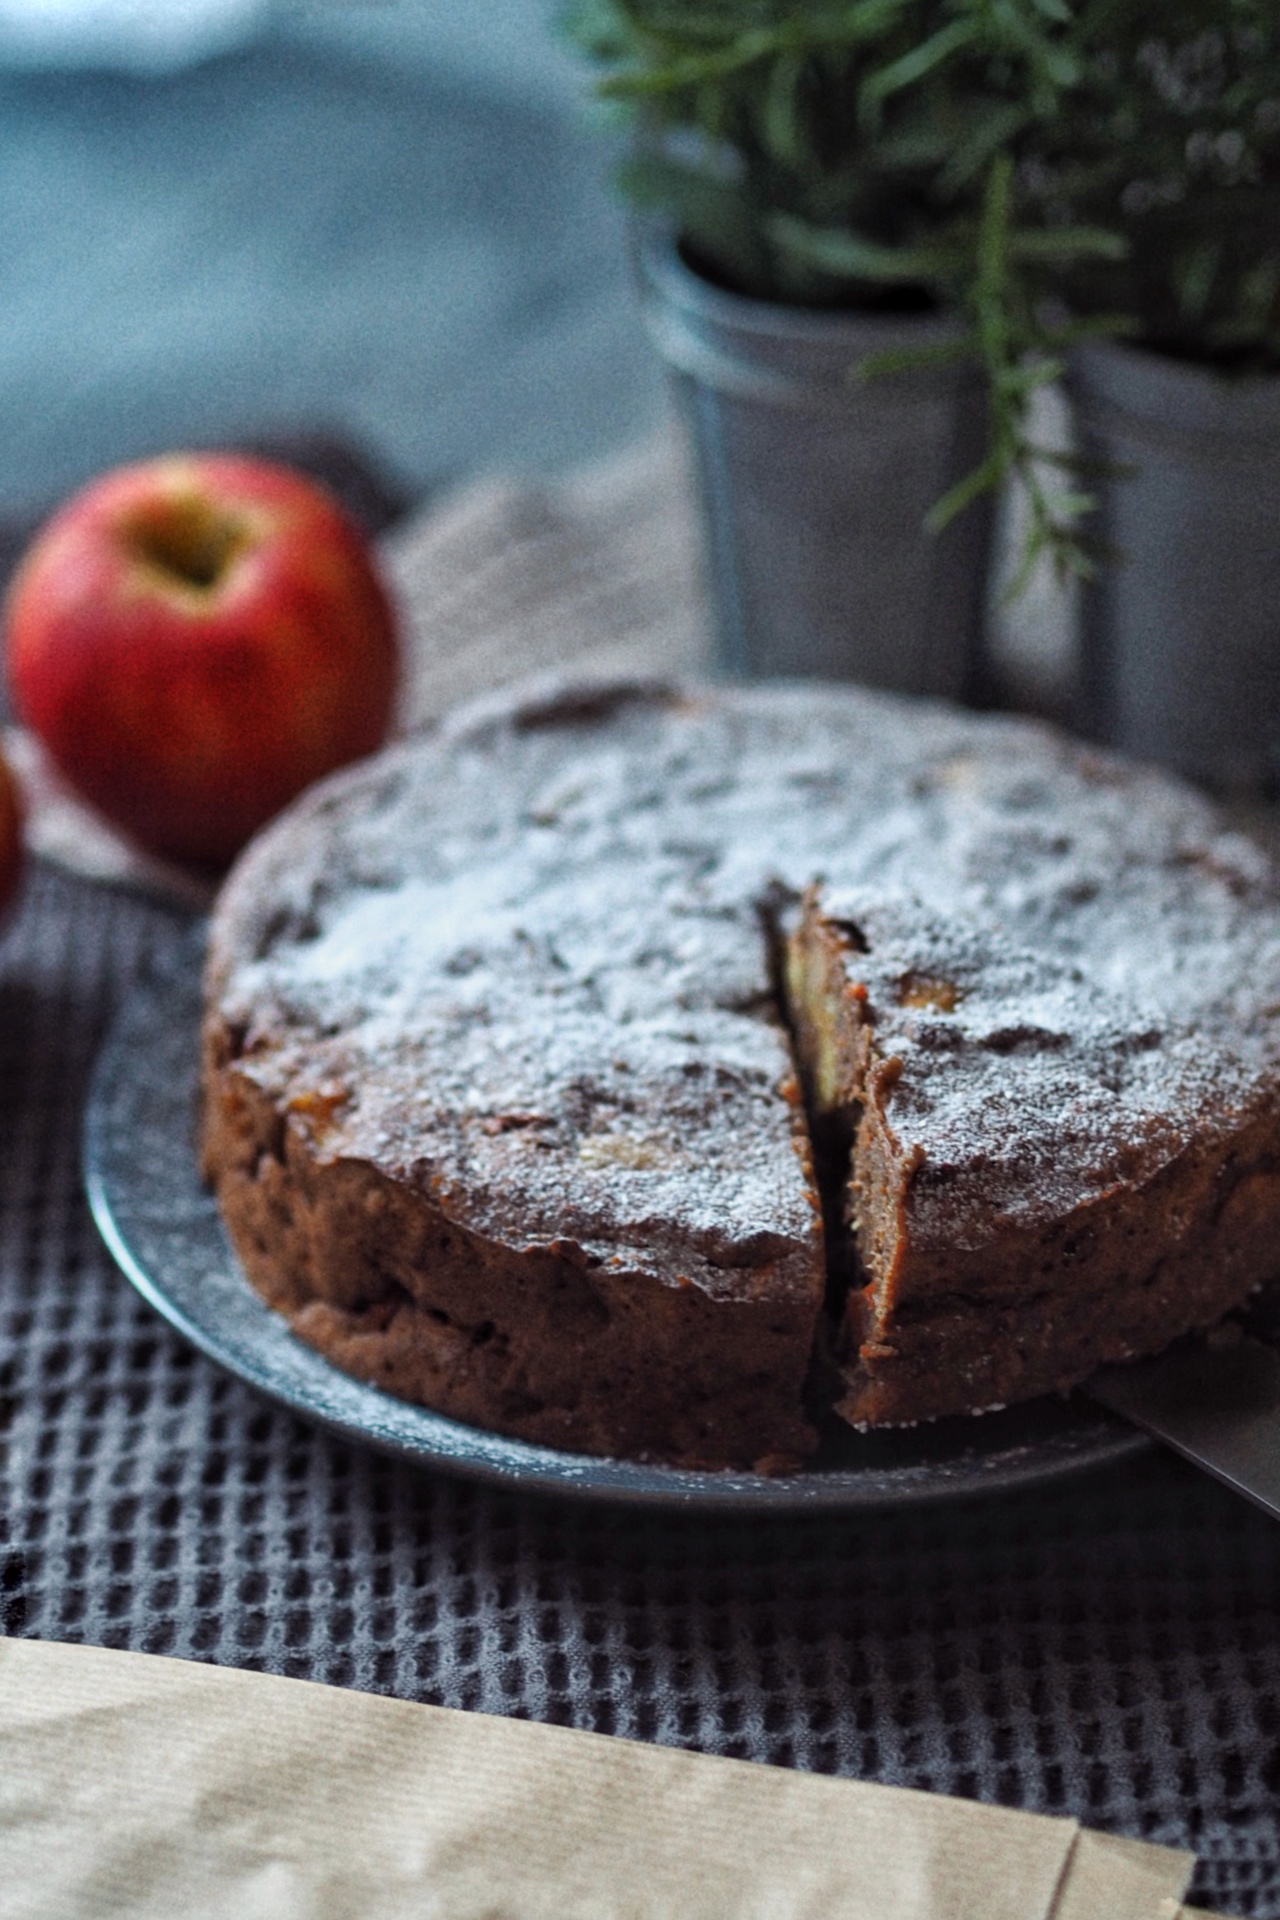
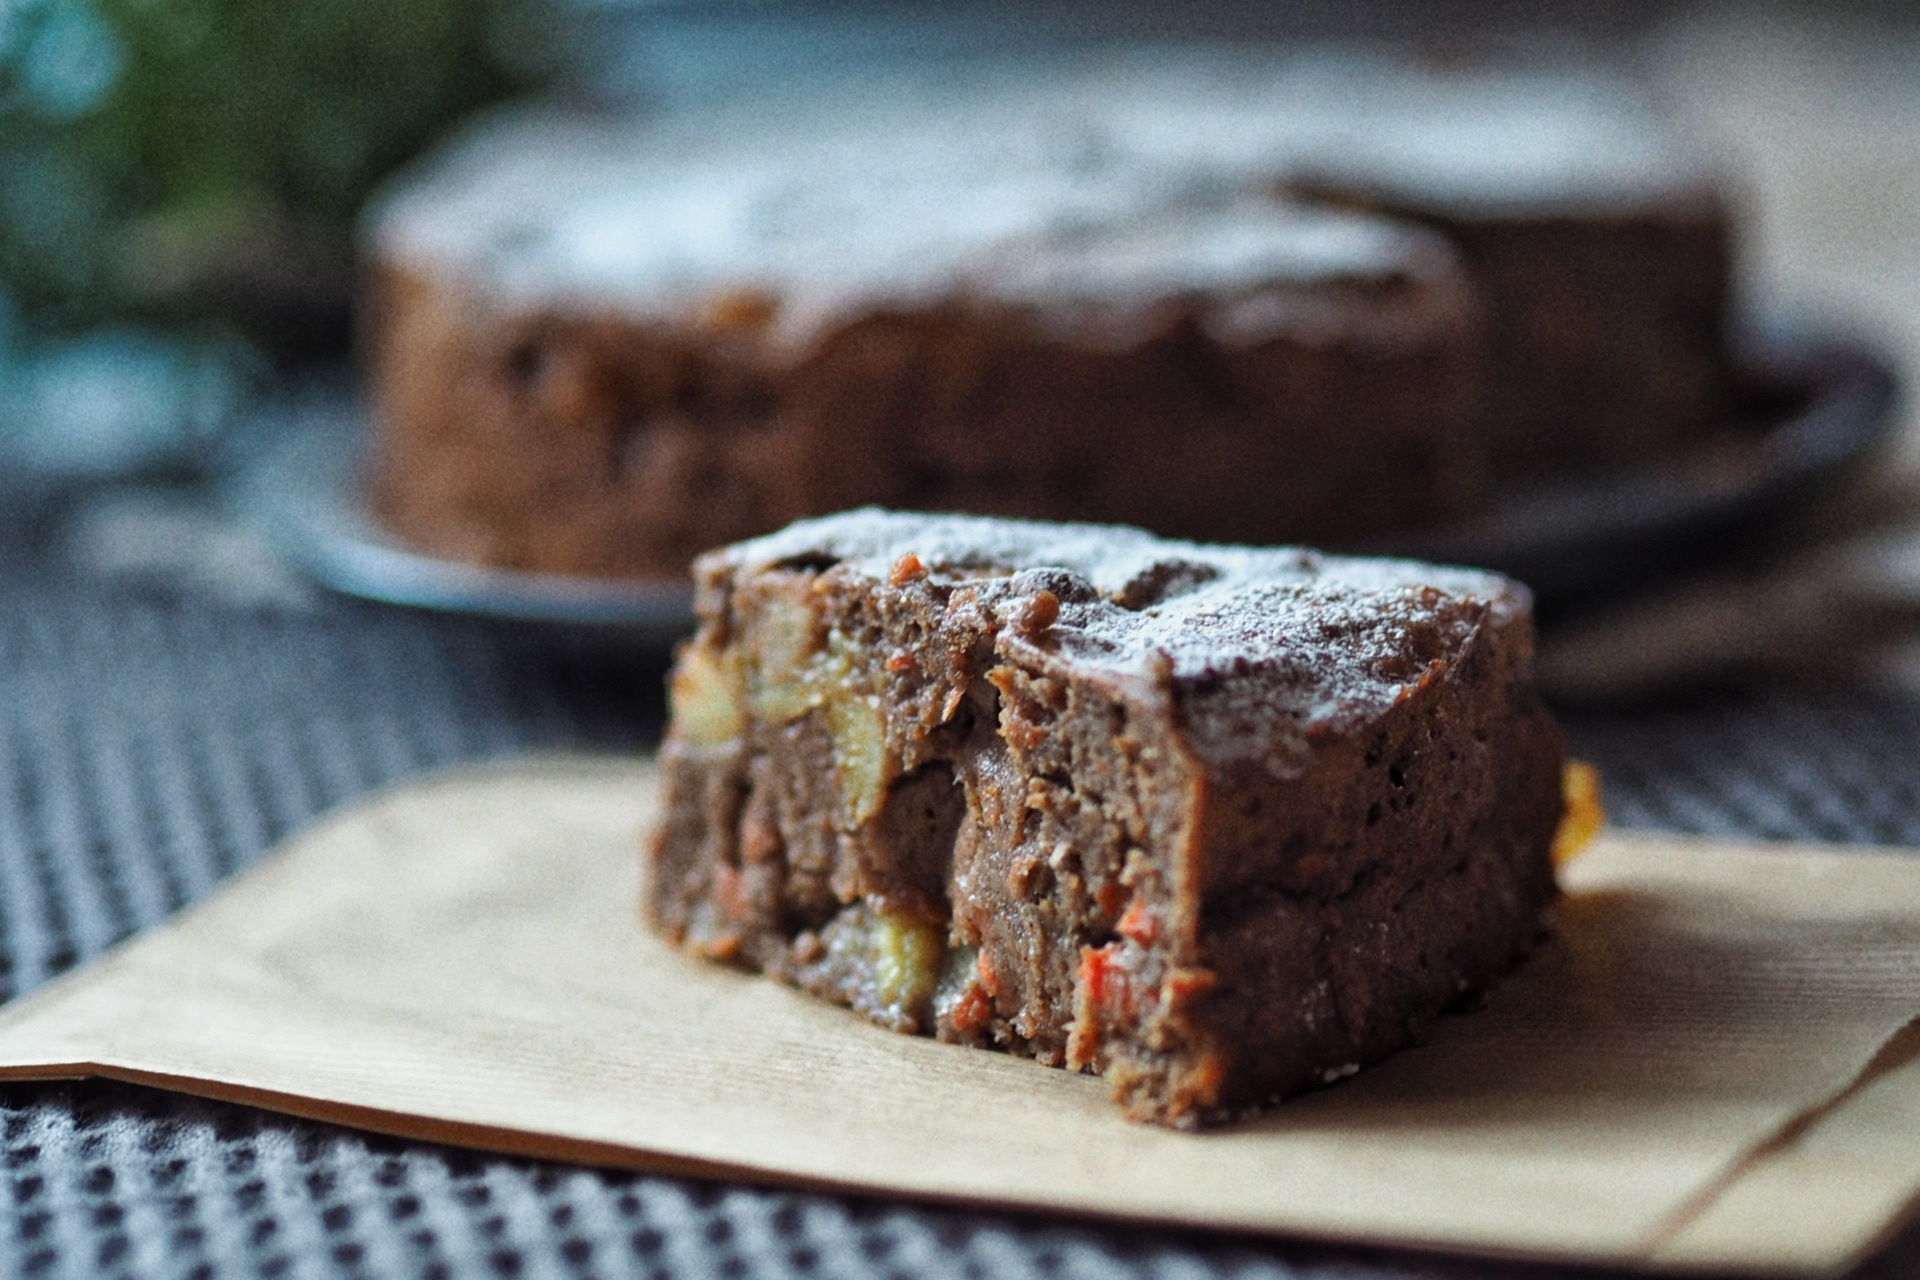
In this instance, fresh off creating this Carrot & Apple Cake, I was inspired by warm and wintery spice flavours + wanted to offer a new waffle combo for The Muscle Bakery.

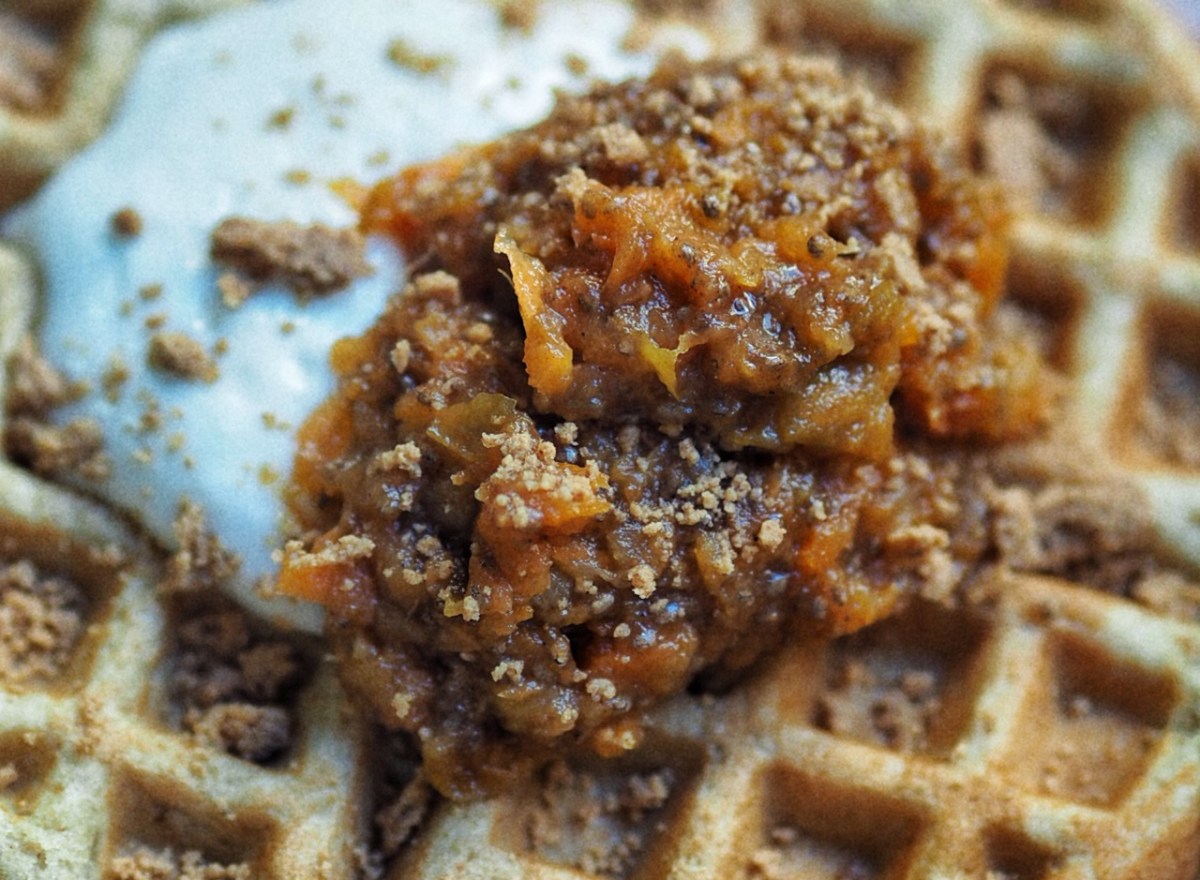
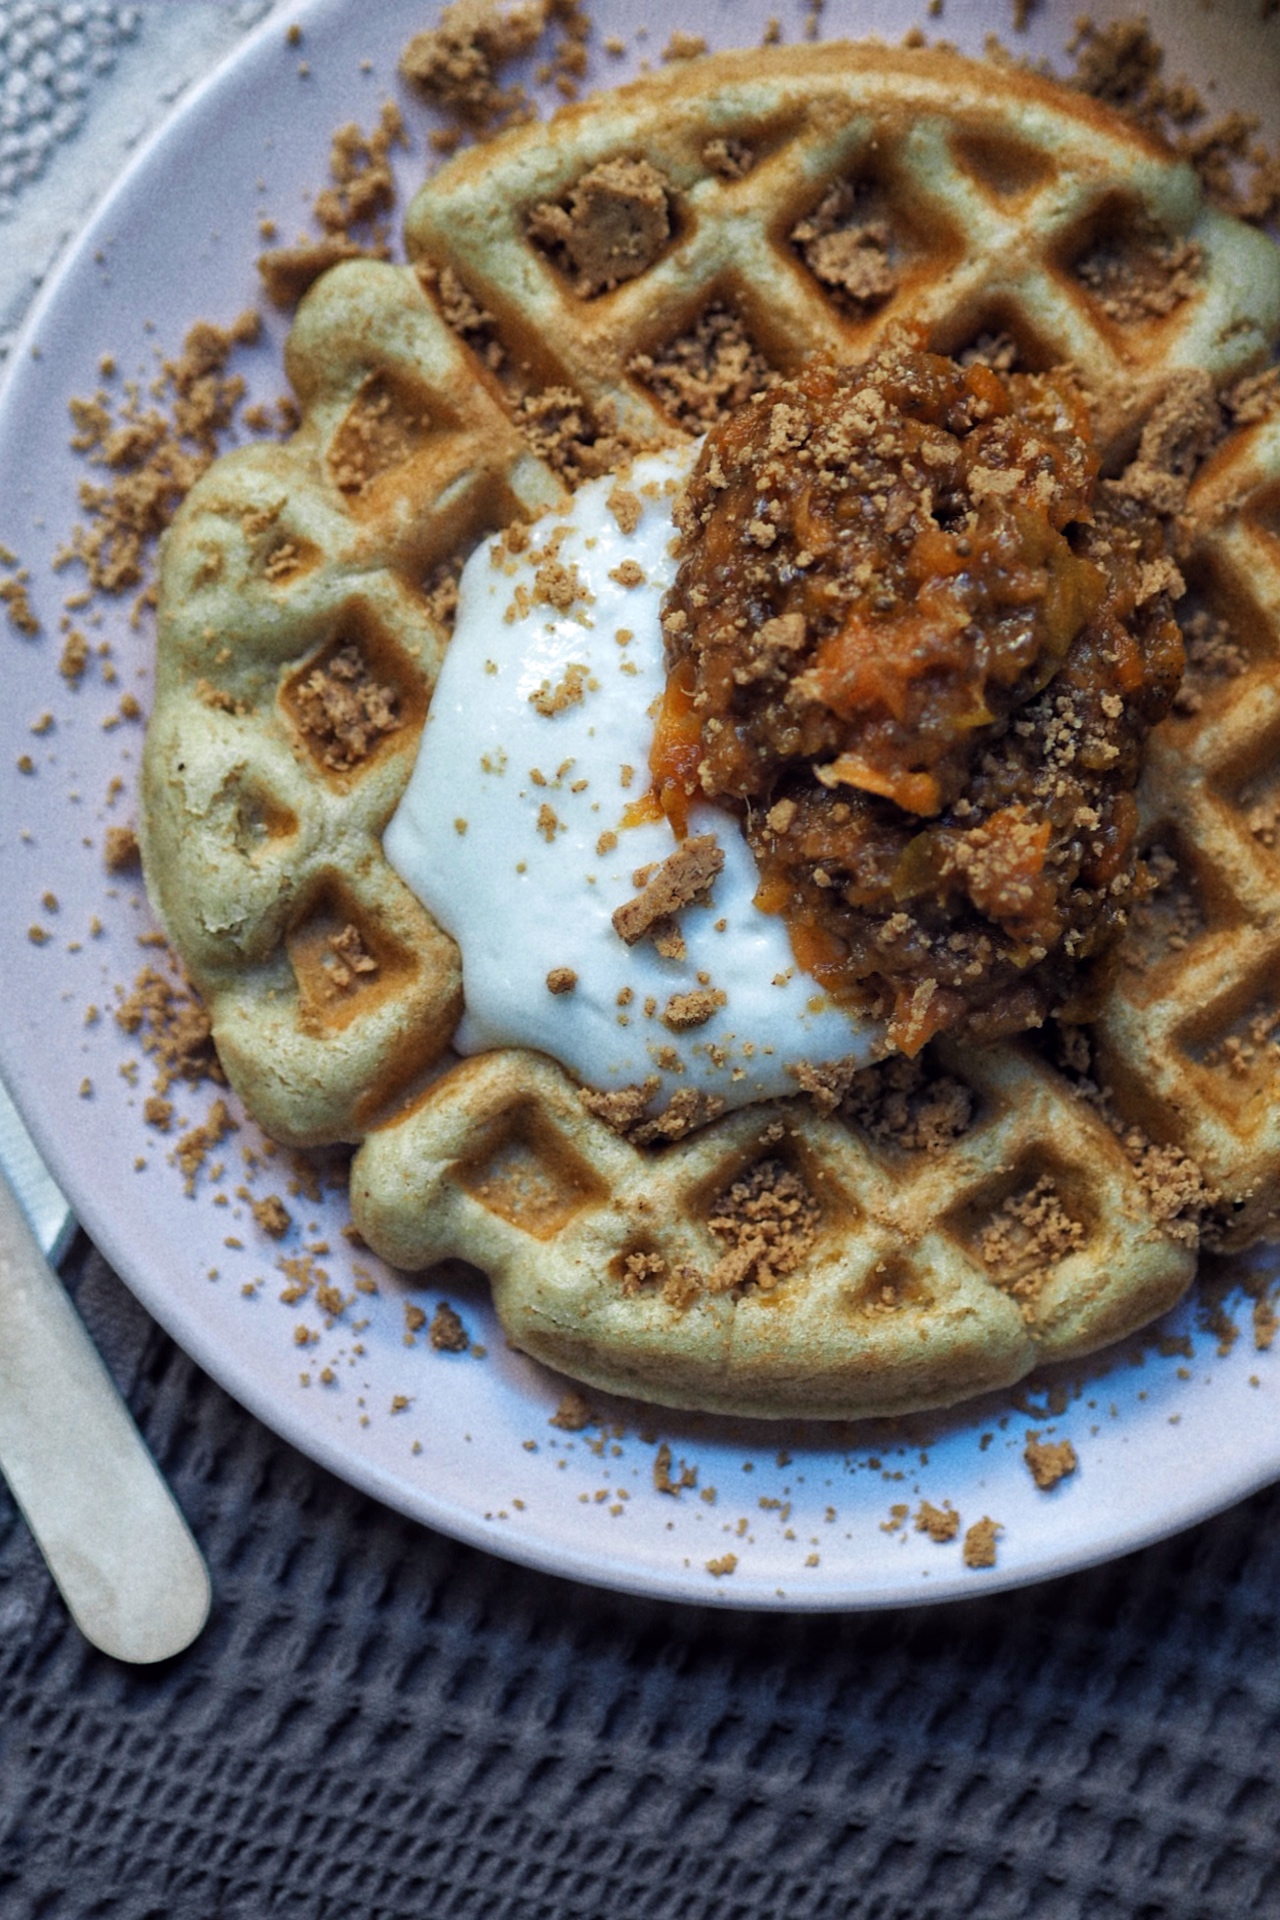
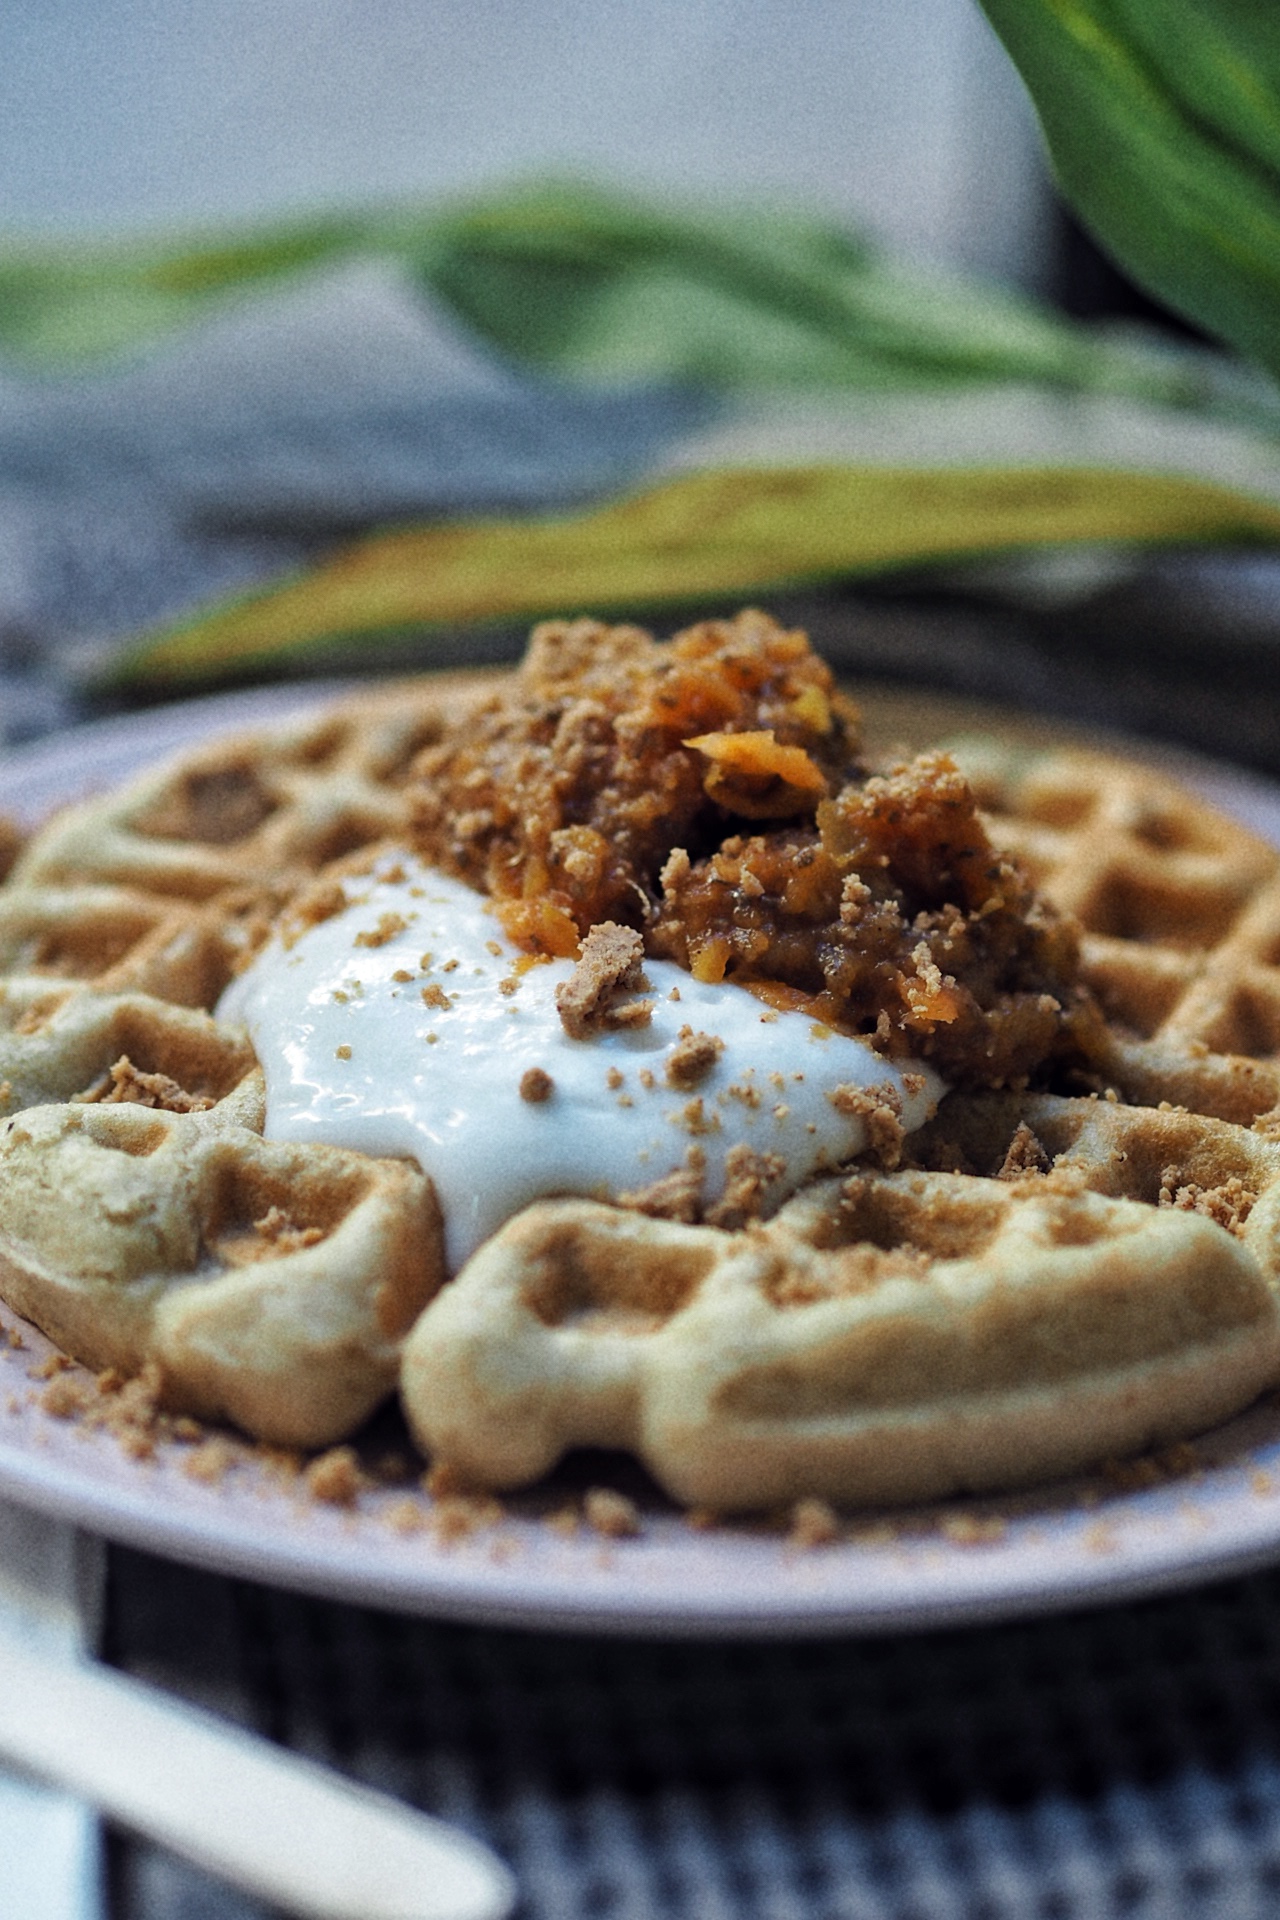
Voila, carrot cake jam was born.

Ingredients:
450g Carrots (can use frozen too)
400g Can of pineapple in its own juice
3 Apples (cut into small cubes)
3 Tbsp lemon juice
1 Cup Agave nectar (light)
1/2 Cup water
2 Tbsp Cinnamon
1 Tbsp Mixed spice
1/3 Cup chia seeds
1/2 Cup grated carrot

Method:
Put all your ingredients except chia seeds and grated carrot, into a medium-larger size saucepan and bring to a boil. Then, reduce heat and leave it simmering for approx 15 minutes (until apples and carrots have softened).

With a handheld blender, blitz everything to a pulp – leaving some texture rather than blending it till it is smooth.

Fold in chia seeds + grated carrot and leave simmering on very low heat, turning occasionally for approx 10-15 minutes. You want the chia seeds to soak up all the moisture and ‘gel’ all the ingredients together.

Leave to cool completely, i let it cool in the saucepan but you can transfer into jars and leave unopened until cooled.

This will taste nicer as the days go by when all the flavours settle together.

We enjoyed ours on some waffles (taste testing purposes ofc) but can’t wait to try it with some toast and nut butter – or even some french toast mmmm.


Don’t forget to tag / share if you try this recipe, we love to see! 🙂


Follow me on instagram for more recipes, videos and nonsense!


Enjoy an exclusive discount on iherb using code: JCB887.

Recipe: Caesar Salad Sauce (+ vegan subs) 🥗

Did you know Caesar sauce usually has anchovies? I didn’t and let me tell you I WAS SHOOK.


Dont get me wrong, I have nothing against anchovies but I don’t like them and just knowing that they reside in Caesar Salad sauces – I just can’t do it. So, I made up my own recipe, which happens to be healthier and high in protein too. FTW.


Heres how you make it (with vegan subs):


Ingredients:
4-5 Tbsp non-fat greek yoghurt
For vegan option use Alpro ‘Greek’ style
1 Tbsp Hellmans really light mayo
For vegan option you can use vegan mayo OR more yoghurt
10g Dijon mustard
40g Parmesan
For vegan option use Violife ‘Parmesan’
3 Tbsp milk of choice
1 Tsp garlic powder
1 Tsp olive oil
1 Tsp lemon juice
Salt & pepper to taste

Method:
Theres not much to it, put all your ingredients into a blender and blitz until smooth. Alternatively you can use a hand held blender too.

Note: add more milk if you prefer it runnier.


I made my salad with these delicious Chicken Goujons, pan-fried cooked ham (tastes like turkey bacon and is the best bacon hack you’ll ever try), crumbled melba toast and goats cheese cubes. Was absolutely delicious and felt like we were having a restaurant dinner 😛


Dont forget to tag / share if you try it! 🙂


I had shared this recipe previously on my social media so don’t forget to follow me on instagram for more tips, recipes and nonsense.

How to: Pizza Omelette 🍕

You had me at pizza.

Pizza is often seen as a taboo food item, comprised of all the ingredients that are seemingly seen as ‘bad’. But, is pizza bad? Not really. Eaten in moderation, it can be enjoyed as part of a balanced diet but the problem lies in understanding how to include this delicacy as part of your intake.

For me, its hard to include a whole pizza into my daily calorific needs unless i don’t eat much all day which is VERY unlikely because i like to eat regularly throughout the day. So, this really takes away those pizza cravings without the added calories (or guilt).

If this is you too, then heres how to:

1. Prepare your base.

You can make your base with egg whites (as i did) or with eggs like you would a normal omelette. I just choose to do it with egg whites only (because I would much rather have all the fat content from cheese).

In an oven-safe pan make your omelette, leave it cooking on medium heat until cooked through without flipping it over. Then remove from heat and move to step 2.

2. Choose your sauce.

Here we used some Biona Passata sauce which we had left over from some pasta but i like using tomato puree or zero bbq sauce (when i don’t fancy tomato). There is no wrong way about it, just use whatever you like and get creative!

Pour the sauce over your omelette base, and before you move to step 3… pre-heat oven to 180 Degrees C.

3. Topping time!

We used fresh spinach leaves, turkey slices and cheddar but you can make any variation you like. The only thing you have to be wary of is the cheese! Its easy to overdo it so make sure you weight out a decent portion rather than loading it on. This was just 40g grated cheddar and it was more than enough. I prefer using Mozzarella, it melts better and imo, is much nicer + has a better nutritional content… but we were out and had to improvise.


Pack your toppings onto the sauced omelette base and proceed to step 4.

4. Bake it!

Now, this part might get you by surprise but you’ll need to bake it in the pan! Yes, just as it is… put the pan with your ready made pizza omelette and bake until your cheese is deliciously melted and golden.

5. ENJOY!

You’ll have to wait for it too cool a little bit, then transfer onto a plate and BOOM, omelette pizza. Ready to satisfy your cravings!


Honestly, don’t diss this recipe until you try it! Everyone who has tried it, has loved it – especially as it means you can enjoy ‘pizza’ more often than not.


Heres the exact recipe:

Ingredients:
200g Egg whites (approx 5-6 egg whites)*
40g Tomato passata
100g turkey slices (chopped)
30g Spinach leaves (chopped)
40g Light Cheddar cheese
1 Tsp oregano
1 Tsp olive oil
Sprinkle of salt

*I hadn’t had much protein all day and needed to make up for it so packed on the egg whites, you don’t need to use this much.

Method:
Add olive oil to a med-large pan and heat on med heat.

Once oil is hot, add egg whites and leave to cook as mentioned in STEP 1.

Pre-heat oven to 180 Degrees C. Add sauce to omelette base, then toppings, oregano and salt. Alternatively you can add the salt to the omelette while cooking.

Bake in oven (in the pan) until cheese melts and is deliciously golden.


The beauty of this recipe is that you can get really creative and make it suit your exact taste preferences – no matter how wild.

Don’t forget to tag or share. We love to see 🙂

Get exclusive discounts on iherb using code: JCB887

Follow me on instagram for more recipes, videos and nonsense.

Recipe: Choc Chunk Cookies 🍪 (Gluten-Free)

Nothing says I love you like warm, freshly baked cookies.


I dont really need an excuse to bake, in fact I am a THE biggest procrastibaker – will bake/ cook before doing anything that needs done round the house (or in life). So, instead of doing something productive I decided to make freshly baked cookies to greet my boyfriend when he got back from work. Logical right?


They turned out to be the best healthified cookie recipe I have made to date sooooo no regrets! 😛


Try them yourself:


Ingredients:
150g Cashew butter
(or any alternative – I just like the taste of cashew in cookies)
50g Ground almonds/ almond flour*
20g Whey protein powder
(Any you prefer will be fine. I alternate between Combat Cookie or Bulk Vanilla).
25g Brown sugar**
15g Xylitol (or preferred granulated sweetener)
1/2 Tsp Baking powder
1 Tsp melted coconut oil
1 Tsp vanilla extract / flavouring
2 Egg Whites
Chocolate chunks of choice (I used some chocolate that was still lingering in the cupboard from xmas which is Morrisons Cookie Milk Chocolate. Chopped it into chunks and was perfect – just use whichever you like best.)

* If you don’t have ground almonds I would suggest ground oats, however almonds will give you a MUCH better texture for cookies, oats will dry up more.
** You can omit the sugar and replace with granulated sweetener but the brown sugar will give it the perfect cookie texture (crispier on the outside) + perfect taste. Alternatively, use coconut sugar.


Ive created a shopping list on iherb with all the products needed for this recipe if you prefer buying it online, remember to use code: JCB887 for exclusive discounts.


Method: Line a baking tray with greaseproof baking paper and pre-heat oven to 170 Degrees C.

In a bowl, combine your dry ingredients then fold in wet ingredients leaving chocolate chunks for last. Place in freezer for 10 minutes – this will help roll the cookies onto the baking paper.


With a tablespoon, grab a spoonful and roll into a ball with your hands then place onto baking sheet. Repeat until all mix is used.

Dip fingers into a tiny bit of water and flatten/ shape your cookies.


Bake for approximately 10 minutes (until cookies have began to go golden brown around the edges).

Leave to cool completely.
Recipe yielded approx 12 cookies.


Enjoy with (or without) the boyfriend but definitely with a nice cup of tea or coffee.

Each cookie was approx 137cals / 8F / 9.8C / 5P (and I piled on the milk choc in this one, so play around with the amounts and you can get even better macros!)


Don’t forget to tag us if you try it 🙂

Code: JCB887 gets you exclusive discounts on iherb.

Recipe: Better than Snickers spread 🍯

Promise, better than Snickers (branded) peanut butter spread…not that it would be hard to make a better one.


I was SO disappointed in the lack of flavour, you would never think a trusted brand like Mars Company would get this sooooo wrong. Its meant to be a caramel flavoured peanut butter with chocolate pieces BUT it tastes of neither. How is that even possible? At first I rated it a 5/10 but it doesn’t even get that… its a 1/10.


I wanted to re-create the spread using supermarket products, so that you could get the same (more flavourful) edition at the same price.


You will need:
1 Jar (label optional)
60g Dates (pitted)
1 Tbsp agave nectar
1 Tsp oil of choice (I used olive oil because coconut oil solidifies, however you can use any you like. You can also add more oil if you’d like to make the spread creamier)
400g Natural peanut butter (100% peanuts)
100g Milk chocolate spread
For a vegan alternative use this one by Plamil.
Sprinkle of salt

Method:
First you have to soak dates in boiling water until they soften. Then, in a high speed blender (or using a hand held blender) blitz together with 100g of peanut butter, agave, oil and sprinkle of salt.

Pour into a bowl and mix together with a spoonful of chocolate spread.

Grab your jar and layer the date mix, chocolate spread and peanut butter until all peanut butter is used up.

Mix slightly and done!


To make this recipe, the cost was approx £3-£3.50 which is the same price as the Snickers spread. Alternatively you can omit the dates… even the natural peanut butter with chocolate spread is still nicer 😆

My spread went a bit pasty overnight, this is normal due to the dates – you can blend or mix in more oil and it will go creamy again.

Hope you enjoy it, try not eat it by the spoonful!
Don’t forget to tag/ share if you make it 🙂

Recipe: Healthy Chicken Goujons (Gluten-Free)🍗

KFC got nothing on this.


Honestly though, these were SO good! Reminded me of the KFC chicken tenders – dipped in bbq sauce. Except these were nicer! (obviously) and you would never tell they are baked instead of fried. Will happily bet on your kids/ husband/ boyfriend/ girlfriend/ bff/ parent/ grandchild approving this one.


Heres how I made them:


Ingredients:
For chicken marinade:
600g Chicken breast (sliced into strips)
1 Oxo Chicken stock cube (or alternative but i like the taste of oxo)
1 Tbsp Garlic and herb seasoning
1 Tbsp Smoked salt
2 Tbsp Olive oil
For batter:
50g Ground almonds
200g Gluten-free breadcrumbs*
1 Tbsp Smoked Paprika
1 Tsp Smoked salt
3 Egg whites


*Gluten-Free breadcrumbs are usually made up of dried corn, so if you don’t have any handy or can find none at the supermarket you can blitz some cornflakes in a high speed blender, or even tortilla chips (doritos if you’re feeling crazy) as they too are made of corn.


Method: First, you’ll need to marinate your chicken strips. In a bowl, mix chicken with marinade ingredients. For the oxo cube you will have to dissolve it in a bit of boiling water and pour it in. I like to do this ahead of time, say in the morning for an evening meal so the chicken really soaks up the flavours. Alternatively, if you forgot to marinate ahead of time – make sure you leave it at least half an hour minimum marinating.


Once your marinated chicken is ready, prepare a baking tray with greaseproof paper and pre-heat oven to 170 Degrees C.

Grab two bowls, in one add your egg whites and in the other mix the rest of your batter ingredients.


Then, strip by strip dip chicken into egg white mix, then batter mix and place on lined baking sheet. Repeat until all strips are coated.


Note: In this recipe i made half of the chicken and kept the rest for the next day. Half the recipe yielded approx 18 strips.


Bake for 20-25 minutes (different ovens may vary) until chicken is crispy and golden.


*HEART EYES*


They were so good that we ate ALL 18 STRIPS haha, the first few in a salad as seen in pic and then the rest dipped in bbq sauce.

Like I said, willing to bet on EVERYONE loving these!


Don’t forget to share your recipe making with us, we love to see! 🙂

Follow me on instagram for more tips, recipes and nonsense.

Recipe: Carrot & Apple Cake 🥕

It was a rainy day and i REALLY fancied something heartwarming, with lots of cinnamon and apples – to enjoy with a frothy coffee and the sound of the rain. Unsure whether to make pancakes or cake, i handed the decision making to my boyfriend and (obviously) he chose cake.


Im glad that he did though because its one of the most delicious cakes I have made to date and that says a lot coming from someone who’s profession is baking! Hope you enjoy this recipe:


Ingredients:
2 Small/medium apples (cubed)
160g Rye flour
40g Vegan protein powder*
250g Carrots (frozen is also fine)
1 Banana (mashed)
3 Egg whites
1/4 Cup light olive oil
50g Brown sugar (or coconut sugar)
50g Xylitol
2 Tbsp Cinnamon
+ a bit of grated carrot (optional)
1/2 Tsp Baking powder
1/2 Tsp Baking soda
1 Tsp Cider vinegar
*I used this one by Bulkpowders in Apple Strudel flavour and it worked perfectly, however a vanilla flavour one will work well too. Alternatively, omit completely and add more flour.


I used brown sugar in this recipe because i like the taste it gives recipes like this (with cinnamon) but you can also sub for more xylitol/ any other granulated alternative. As for flour, i presume it could be done with oat flour if you don’t have/ can’t have rye, but I have not tried this myself – so can’t vouch for it.


Method:
First, you need to sautée apples. Do this by heating a pan on med-high heat (no oil) and add 1 tbsp cinnamon until apples soften, stirring apples over regularly.

Then, make your carrot puree. You can use ready made puree OR to make your own, boil carrots with water and then blend together in a Nutribullet or with a handheld blender. I made my puree a bit chunky as i like it with carrot pieces, but you can simply blend more or with more water for a smooth puree.

Preheat oven to 170-180 Degrees C.

Now, chuck all the remaining ingredients in a bowl and mix until well combined. Pour mix into a round 8inch baking tray and bake for 20-30 minutes (until a knife comes out clean when poked in centre).


Leave to cool completely before eating. Recipe yielded 8 slices.


We enjoyed it with a sprinkle of icing sugar and cream cheese frosting and it was absolutely delicious! We also shared it with some friends and they gave it raving reviews too!


Don’t forget to tag / share if you try this recipe, we love to see! 🙂

Review: Straits Apparel 🏋️‍♀️

Straits Apparel, born and bred in Gibraltar is an up and coming sportswear brand who hope to create sportswear fit for everyone.


Im excited to be an ambassador for this brand because its not often you get to work with people with so much energy and zest like its owner:Christina. She has so many great ideas for the brand and I can’t wait to watch it grow.


Fun fact: each set is named or inspired by local history: Keys, Defence, Castle sets are to name a few.


CASTLE SET – PISTACHIO


This set is my favourite one to date, the cut on the leggings is really high and figure hugging and everything is held in place tightly (important) even though the material isn’t ‘compression.’ – basically, te aguanta la barriga guys que es lo que cuenta.

The bra is really comfortable and also holds everything in place wonderfully. It has removable padding but i like leaving them in because it makes them twins look a bit nicer *hides face*

I usually i wear size 8-10/S-M on top (bra size: 36DD) and a size 8/S on bottom – these are both size S.

As you can see from the pictures, the colour is truly gorgeous – this one is called Pistachio but it also comes in 3x other colours: Azur, Black & Mauve. (The azur one is also so beaut and definitely have my eyes on that one next).

The highlight of this set for me is the back pocket which is big enough to hold your phone – i went as far as to test this set on a run with my phone in the back pocket and I give it a 10/10!


FORTRESS SET – SAND


This set is lovely, the cut on the leggings is a little bit lower which made it a bit more uncomfortable for me (i like them super high) but the material is far tighter and has more of a compression feel. So much so, that i had to upsize on this one and get a size M instead.

The bra is comfortable but doesn’t have a strong hold, i would say that its perfect for weight training – rather than high intensity workouts.

On both the bra and leggings I’m wearing a size M.

The colour is really nice, however I much prefer darker colours for training because i always stain all my lighter colour leggings, so if you’re like me… buy a darker colour in this range. These come in Sand, Mocha and Graphite colours.


These sets are just 2x of the new 2021 collection which are NOW AVAILABLE on Straits Apparel. Tune into their instagram for regular updates and exclusive discounts.


+ get a 15% discount, using code: ELKE15 🙂


Any other questions or queries feel free to get in touch, you can do so via the comment section OR find me on instagram as @themusclebaker.

Recipe: ‘Bollycao’ Fit

I wish i had a whole essay as to why i decided to make these but i don’t, it started off with wanting to use up leftover xmas chocolates and escalated to stuffed protein rolls? muffins? bollycao fit?


Bollycao is a soft bread-like bun, filled with chocolate cream and is traditional to Spain – produced by Bimbo. However, due to our close proximity to Spain it’s a treat most of us (Gibraltarians) grew up with and loved!


Anyways, I hate recipes where you have to scroll for an eternity to get to the important bit so i won’t faf any longer:


Ingredients:
65g Ground oats or oat flour
1 Scoop Vanilla Whey (approx 30g)
2 Tbsp Xylitol
100g Non-fat greek yoghurt ( I used Fage 0% as its my fave)
1 Egg white (approx 40g)
1 Tsp Vanilla essence
1/4 Tsp baking powder
1/4 Tsp baking soda
Spread of choice (for filling)


Note: you can use any silicone mold of preference, I tried the same recipe in a dome mold, ice-cream mold (pictured) and muffin mold – and they all worked.


Method:
Preheat oven to 180 Degrees C.

In no specific order, chuck all the ingredients into a bowl and mix until well combined.

Grab your desired silicone mold of choice and using a small spoon, place a bit of mix in each fill and spread upwards against the sides. Place a teaspoon-full of chosen spread in the centre of each and cover with more mix, making sure all the spread is covered.


Bake for approximately 10mins (until the sides have started to brown).

Break open (while scalding your hands) to see the inside chocolate ooze out. OR just leave to cool and enjoy like a normal person. Upto you.

Yields approximately 6 pcs (depending on size of mold you use).


Head to @themusclebaker instagram, for a video reel on how to do this recipe or check out how to make your own macro-friendly spread here.


This was a second batch using the macro friendly spread recipe. It worked perfectly just not oozy as using an actual spread (like Nutella).

Don’t forget to tag / share if you try this recipe, we love to see! 🙂

Recipe: Peanutella

Most spreads are usually packed with maximum calories (which isn’t a bad thing) but it just means you get less amount for your calories. With this recipe you get to eat MORE for the same amount of calories… now thats winning!


This recipe is best enjoyed immediately but if you prefer making in bulk and storing for future use, note that the coconut oil will solidify – to use again simply heat a little beforehand.


Ingredients:
1/4 Cup peanut powder – approx 25g (I use PB2 brand)
10g Cocoa powder
40g Ground granulated stevia or alternative sweetener
25g Coconut oil (melted)
4 Stevia hazelnut drops* (I used Better Stevia brand)
*You can use any sort of flavour drops, some other favs are Skinny Co or Bulkpowders drops.

Method:
In a bowl mix all your dry ingredients, then fold in coconut oil until combined.

Then spread onto toast, pancakes or whatever else you may fancy.


I calculated about 8 servings, which totals to approximately 54 cals. However, you may get more servings (or less) out of your mix. Depends on your greedy levels 😛


Don’t forget to tag / share if you try this recipe, we love to see! 🙂


Follow @themusclebaker for recipe video reels and more.

Use code: JCB887 on iherb for exclusive discounts.